

Types and triggers
Every automation has a type and a trigger:- The type is the tool the event comes from.
- The trigger is the event inside that tool that starts the automation.
Shopify is the only type for now, and it has one trigger, Order created. More types and triggers will appear in the same place as they’re added.
An AI agent can have one automation per trigger. Once it has an Order created automation, Add automation is disabled, and you change that automation instead of adding another.
Before you start
- Connect Shopify to your AI agent. See Shopify.
- Connect a WhatsApp number to the same AI agent. See WhatsApp. The automation sends from this number.
- Create and get approval for the templates you want to send, in the WhatsApp Business Account of that number. See WhatsApp Templates. Only approved templates can be picked.
- Make sure orders have a phone number. The message goes to the phone number on the order, its customer, or its shipping or billing address, in that order. Orders without a valid phone number are skipped.
Create an automation
1
Open the Automation tab
Go to Channels → WhatsApp and open the Automation tab. Click Add automation.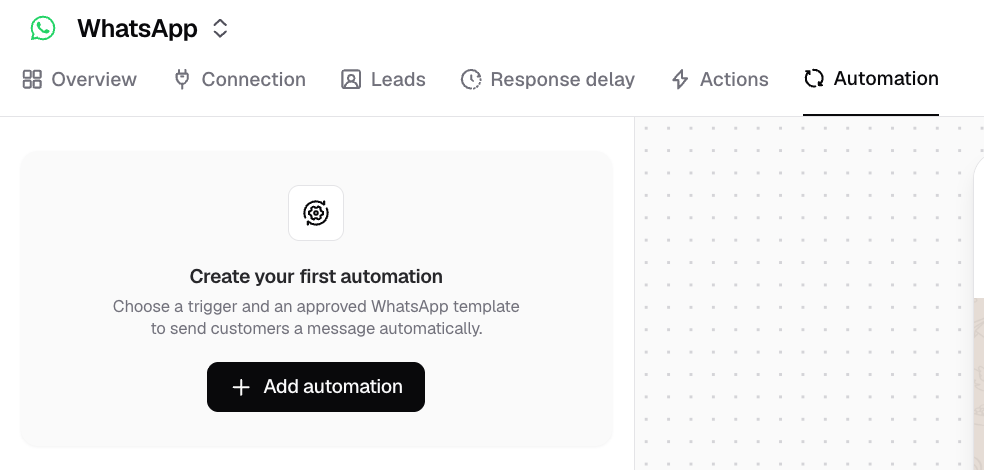
2
Check the type and trigger, and choose the phone number
The editor opens with Type set to Shopify and Trigger set to Order created. Under Phone number, choose the WhatsApp number the messages are sent from in Send from.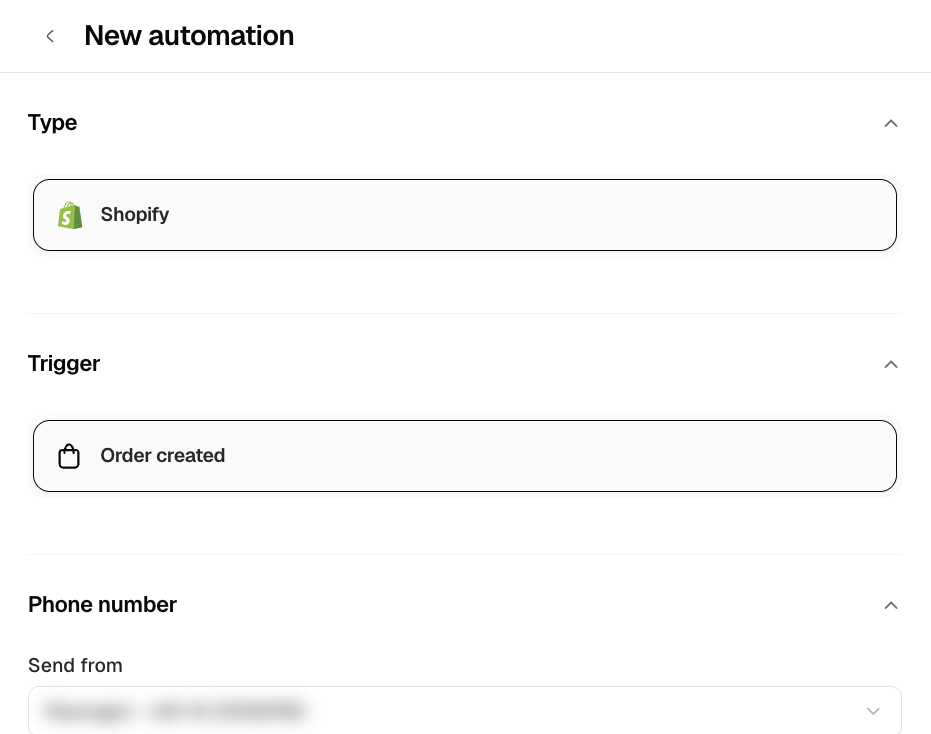
3
Add a rule and its conditions
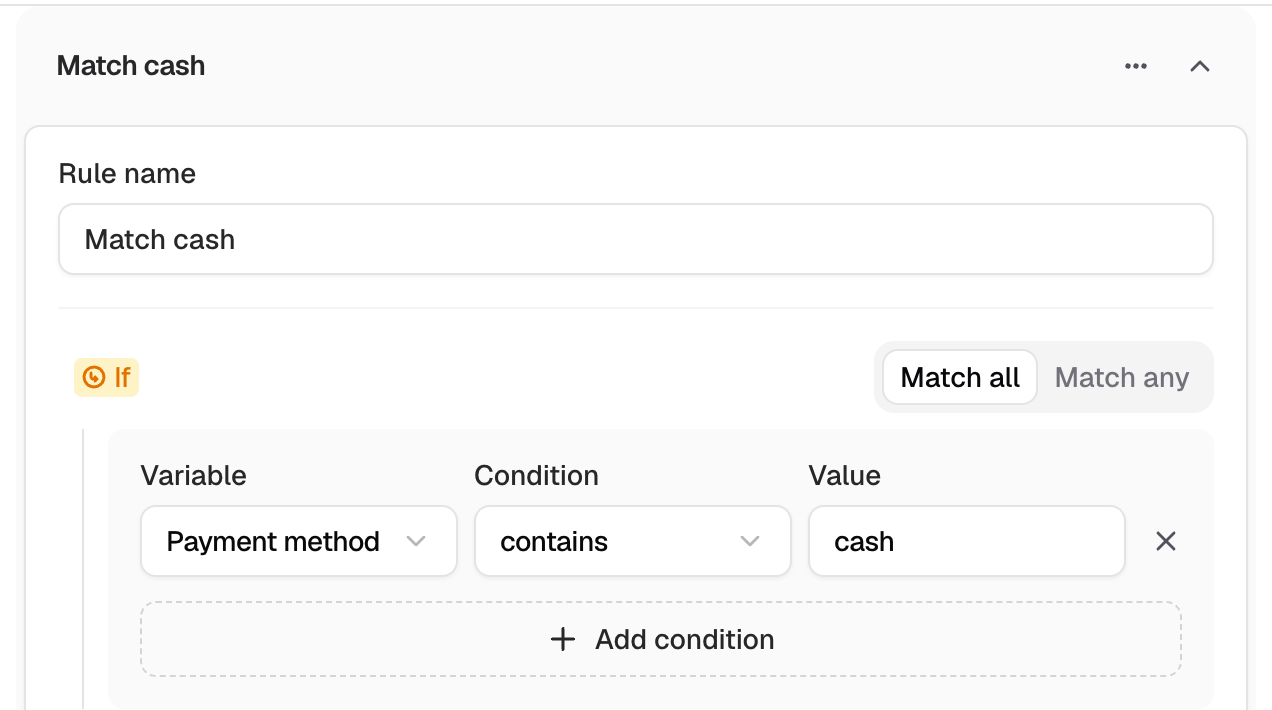
Under Match & send, give the first rule a name that says what it matches, such as Match cash. Then add its conditions. For each condition, pick an order field in Variable, an operator in Condition, and type or pick a Value.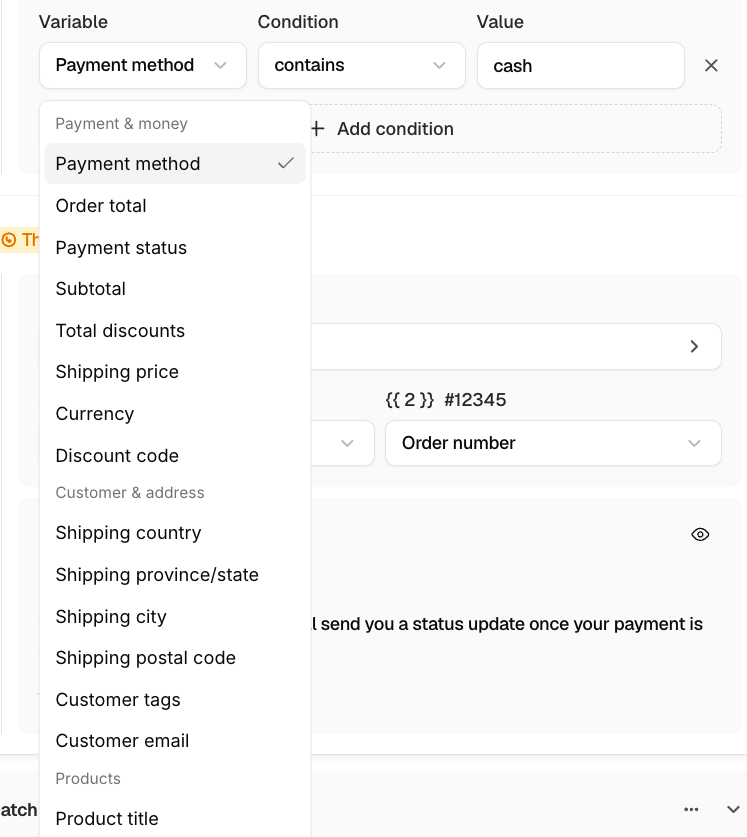
4
Pick the template
Under Then, click Select template and pick an approved template.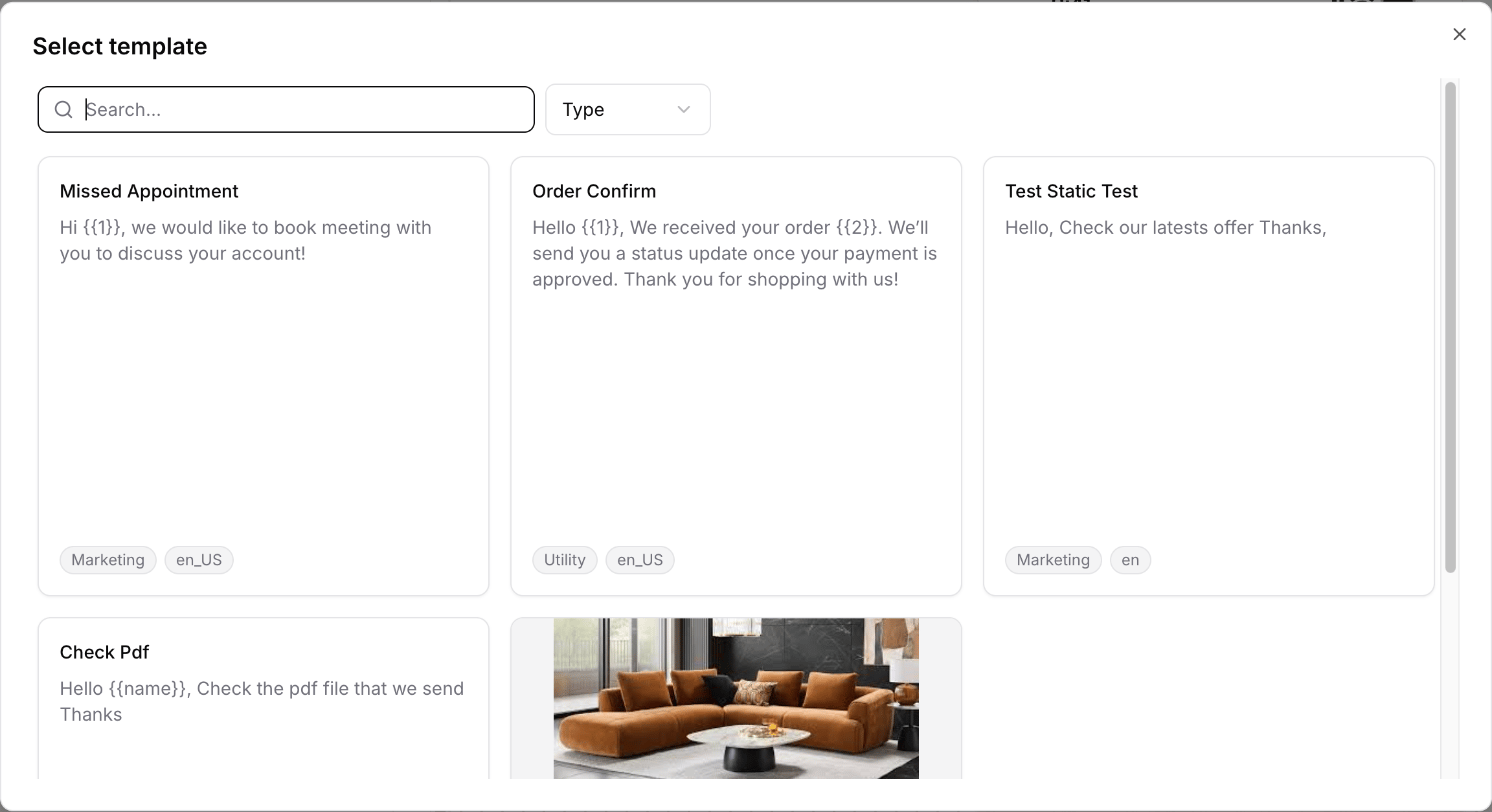
5
Fill in the template's variables
For each variable in the template, such as 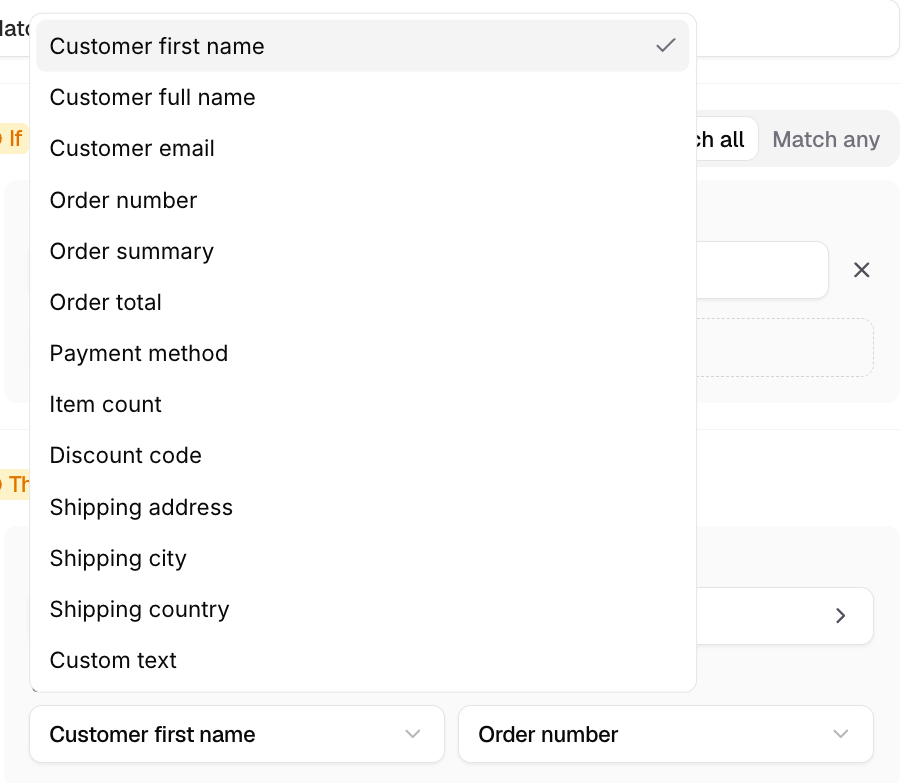
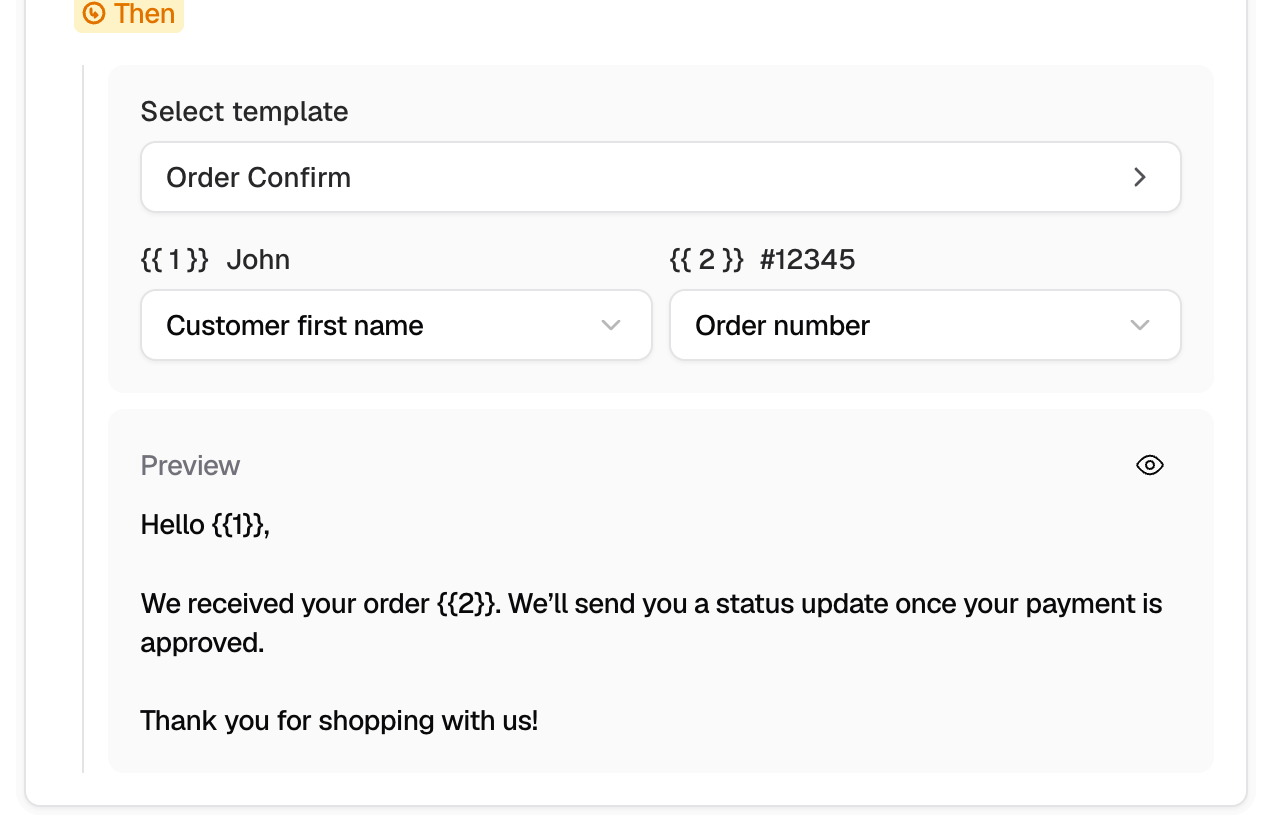

{{1}}, choose the order field that fills it, or Custom text to type a fixed value. See Template variables.6
Add more rules and a fallback (optional)
Click Add rule for more cases, and drag rules to change their order. The top-most rule that matches wins.To send something when no rule matches, turn on Send a fallback message, then pick its template and fill in its variables.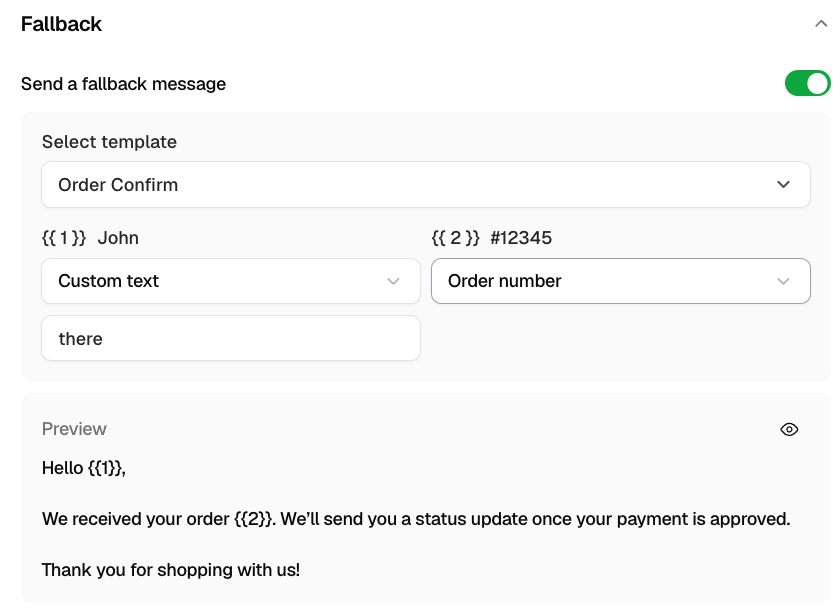
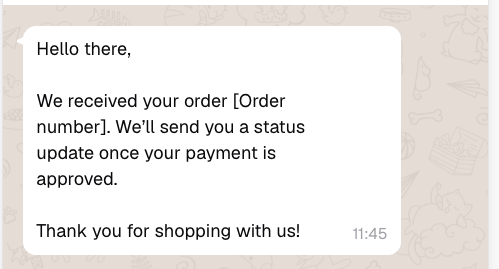
An automation needs at least one rule or the fallback.
7
Save & enable
Click Save & enable. The automation is saved, turned on, and you’re taken back to the list. It sends on the next order that comes in.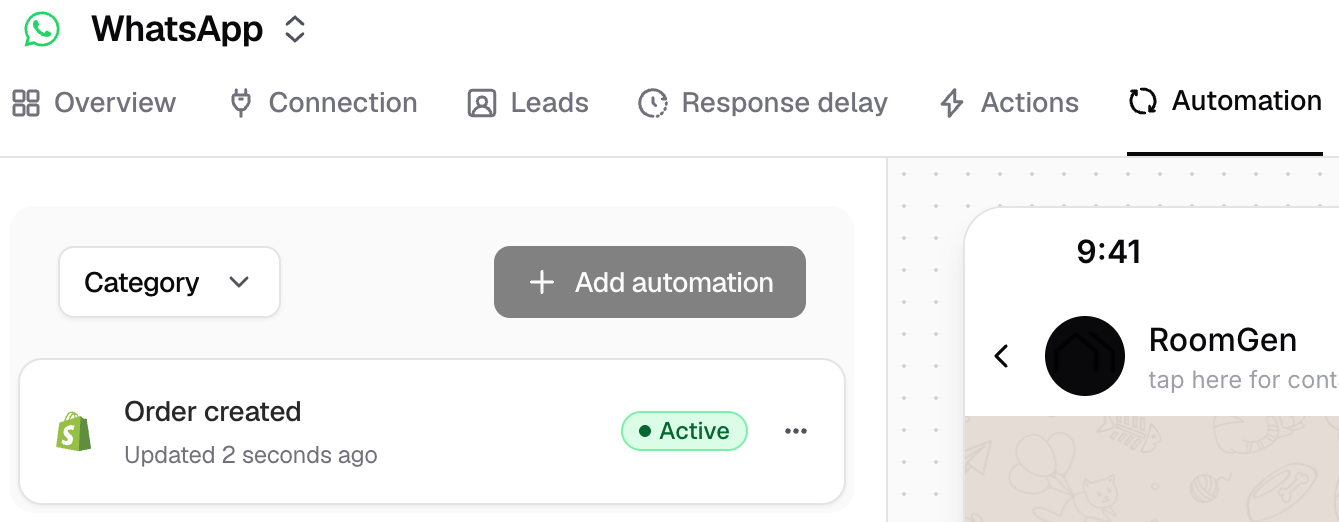
Conditions
Conditions compare a field of the new order with the value you enter.
How values are compared:
- Text ignores upper and lower case and spaces around the value.
- Lists (customer tags, discount codes, product titles, SKUs and vendors) match contains when any item contains your text, and does not contain when no item does.
- Numbers never match when the order has no value for that field.
- Payment status is picked from a list: Pending, Authorized, Partially paid, Paid, Partially refunded, Refunded, Voided.
- Shipping country is picked from the country list. Currency is a currency code such as
USD. - Shipping province/state matches either the name or the code, such as
CaliforniaorCA.
Payment method
Payment method matches the gateway name Shopify stores on the order, as plain text. For a manual payment method, the gateway name is the method’s name as it appears in Shopify admin under Settings → Payments → Manual payment methods, such asCash on Delivery (COD) or Example Pay.
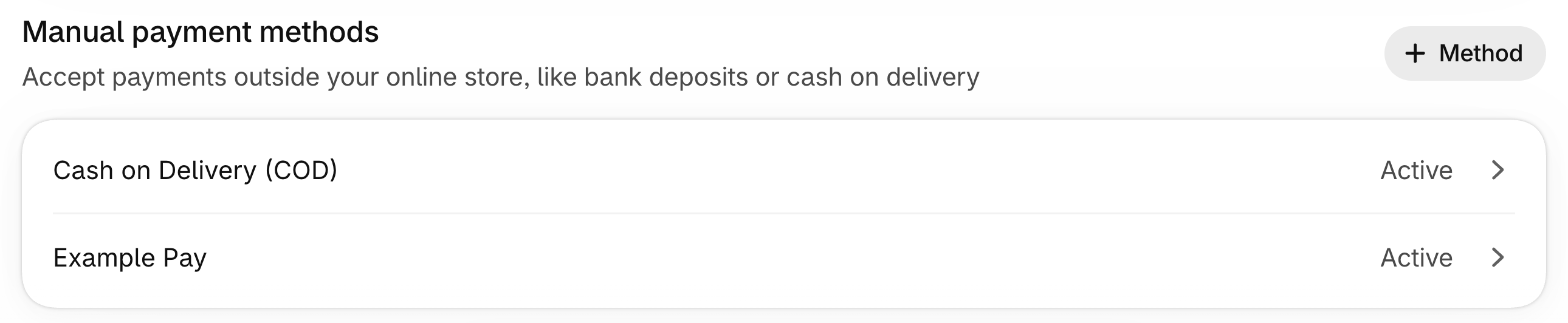
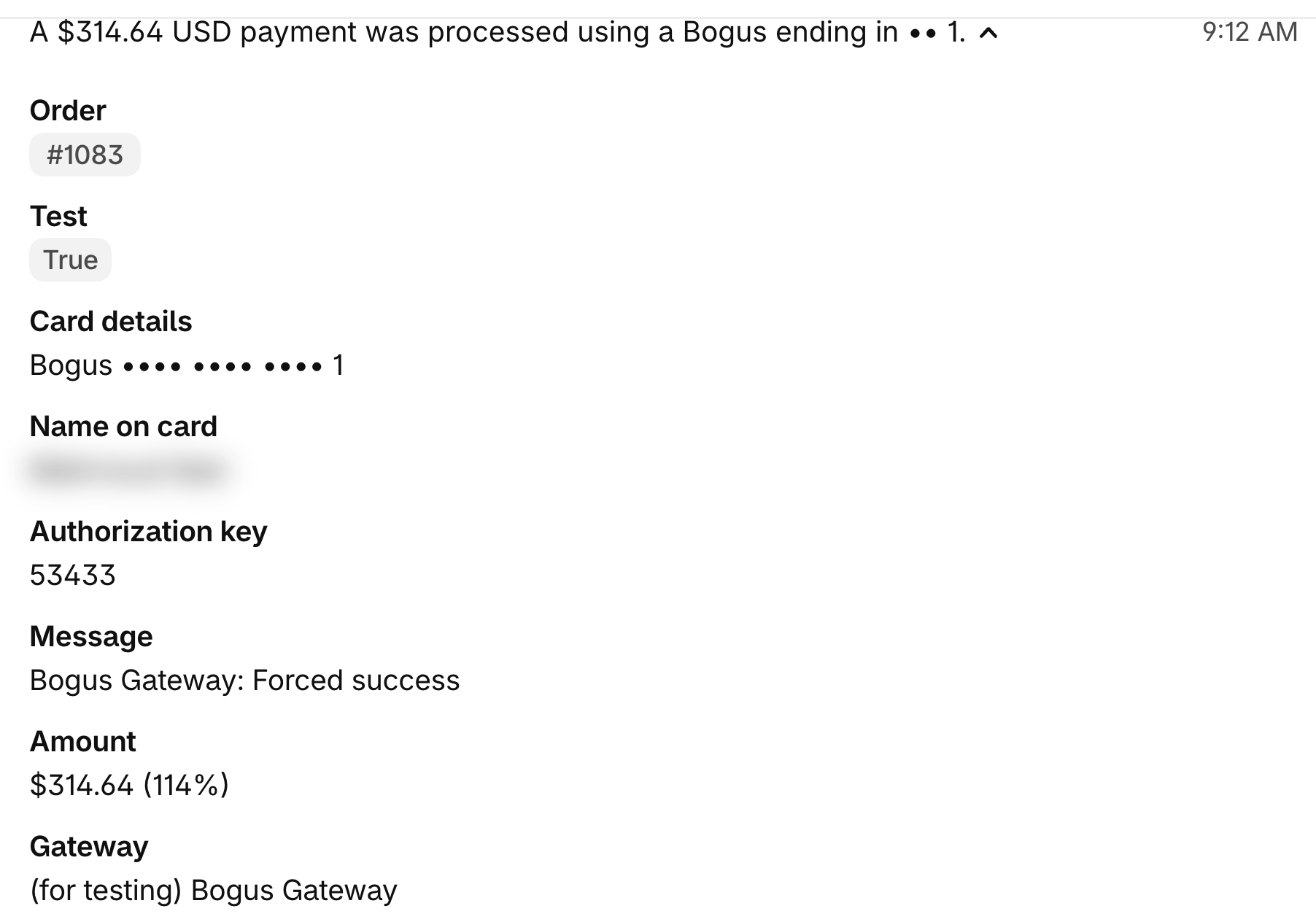
bogus. To see the gateway of an order, open the order and, in its Timeline, expand the payment line.
Template variables
Each variable in a template is filled from the order, or from text you type. You can pick Customer first name, Customer full name, Customer email, Order number, Order summary, Order total, Payment method, Item count, Discount code, Shipping address, Shipping city, Shipping country or Custom text. These need a word of explanation:
If a rule matches but the order has no value for one of its variables, such as a guest checkout without a first name, that rule is skipped and the next rule is checked. The fallback is skipped the same way. To always send something, use Custom text or a field every order has.
What happens when an order comes in
- Each AI agent connected to the store checks its active Order created automation.
- Rules are checked from top to bottom. The first rule that matches and can fill all its variables sends its template.
- If no rule sends, the fallback sends, if it’s on and can fill its variables.
- The message goes to the phone number on the order. Each order gets at most one message per AI agent, even if Shopify sends the same order twice.
Manage your automations
The Automation tab lists each automation with its type, its trigger, when it was last updated and whether it’s Active. Use Category to show only one type.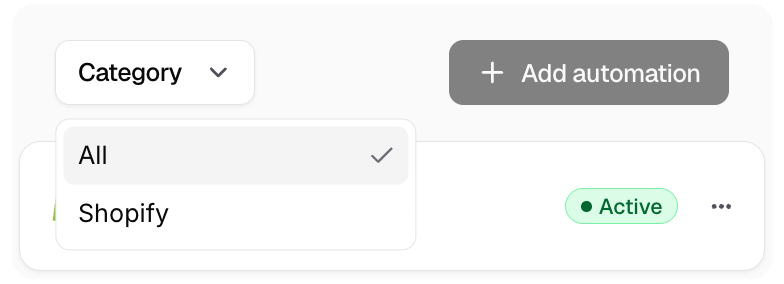
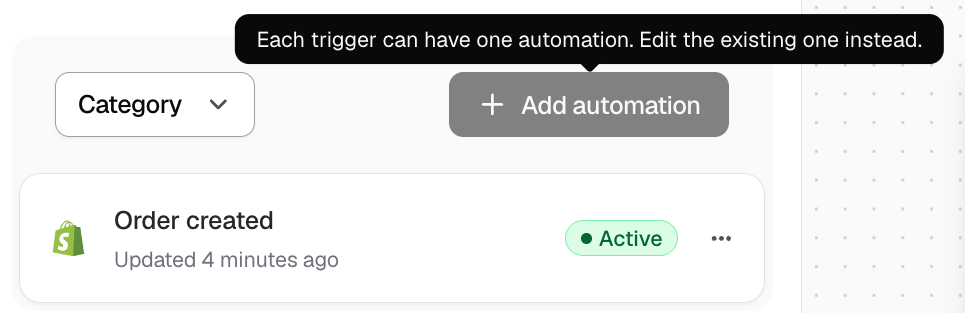
Edit, turn off or on
Click an automation to edit it. Its saved rules start collapsed and show their names; click a rule to expand it.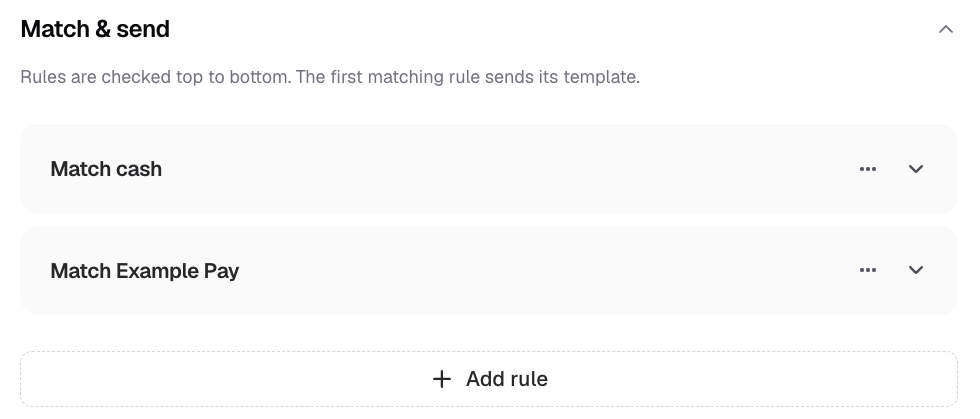

Delete
Open the ⋯ menu on an automation and choose Delete, then confirm. Deleting can’t be undone.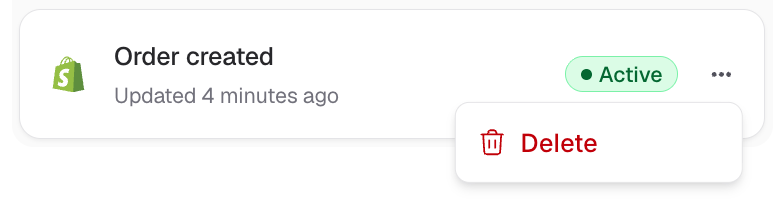
Limits
- One automation per trigger for each AI agent.
- Up to 25 rules per automation and 10 conditions per rule.
- Up to 50 variables in a template body.
- Rule names, condition values and custom text can be up to 255 characters.
Example: confirm cash on delivery and Example Pay orders
A store offers two manual payment methods, Cash on Delivery (COD) and Example Pay. It wants every order paid with either one confirmed on WhatsApp, greeting the customer by first name when the order has one. It uses one approved template, order_confirm:{{2}} = Order number:
What each order gets:
The fallback sends to every order no rule sends to. To message only cash and Example Pay orders, turn the fallback off and add a copy of each rule with
{{1}} = Custom text there below the original.
Troubleshooting
A customer placed an order but got no message
A customer placed an order but got no message
Check, in order:
- The automation is Active on the AI agent connected to the store.
- A rule’s conditions match the order, or the fallback is on. For Payment method, compare your value with the order’s gateway name; see Payment method.
- The order has a value for every variable the matching template uses. A missing value skips that rule or the fallback.
- The order has a valid phone number.
- The template is still approved in WhatsApp Manager, and its header has no variables.
The wrong template was sent
The wrong template was sent
Rules are checked from top to bottom and the first match wins. Drag the more specific rule above the general one.
A template I created doesn't appear in the picker
A template I created doesn't appear in the picker
Only approved templates of the WhatsApp number in Send from are listed. Check its status in WhatsApp Manager, or pick the number the template belongs to.
Frequently asked questions
Can I send a message without any conditions?
Can I send a message without any conditions?
Yes. Turn on the fallback and leave out the rules. The fallback then sends on every order.
Do automations send free-form messages?
Do automations send free-form messages?
No. WhatsApp only lets businesses start a conversation with an approved template, so every automation message is a template.
Does a new automation start sending right away?
Does a new automation start sending right away?
Yes. Save & enable creates it already active. To pause it, open it, turn off Active and save.
What happens to my automations if I disconnect Shopify?
What happens to my automations if I disconnect Shopify?
They’re deleted. After reconnecting, create them again.
Next steps
WhatsApp Templates
Create and get approval for the templates your automations send.