

The six categories
What each category changes
See what replies do to the status.
Managing statuses
Go to Settings → Helpdesk → Ticket statuses. Each category starts with one status of the same name, marked Default. The Helpdesk uses the default when it changes a status by itself, such as after a customer reply or a trigger.1
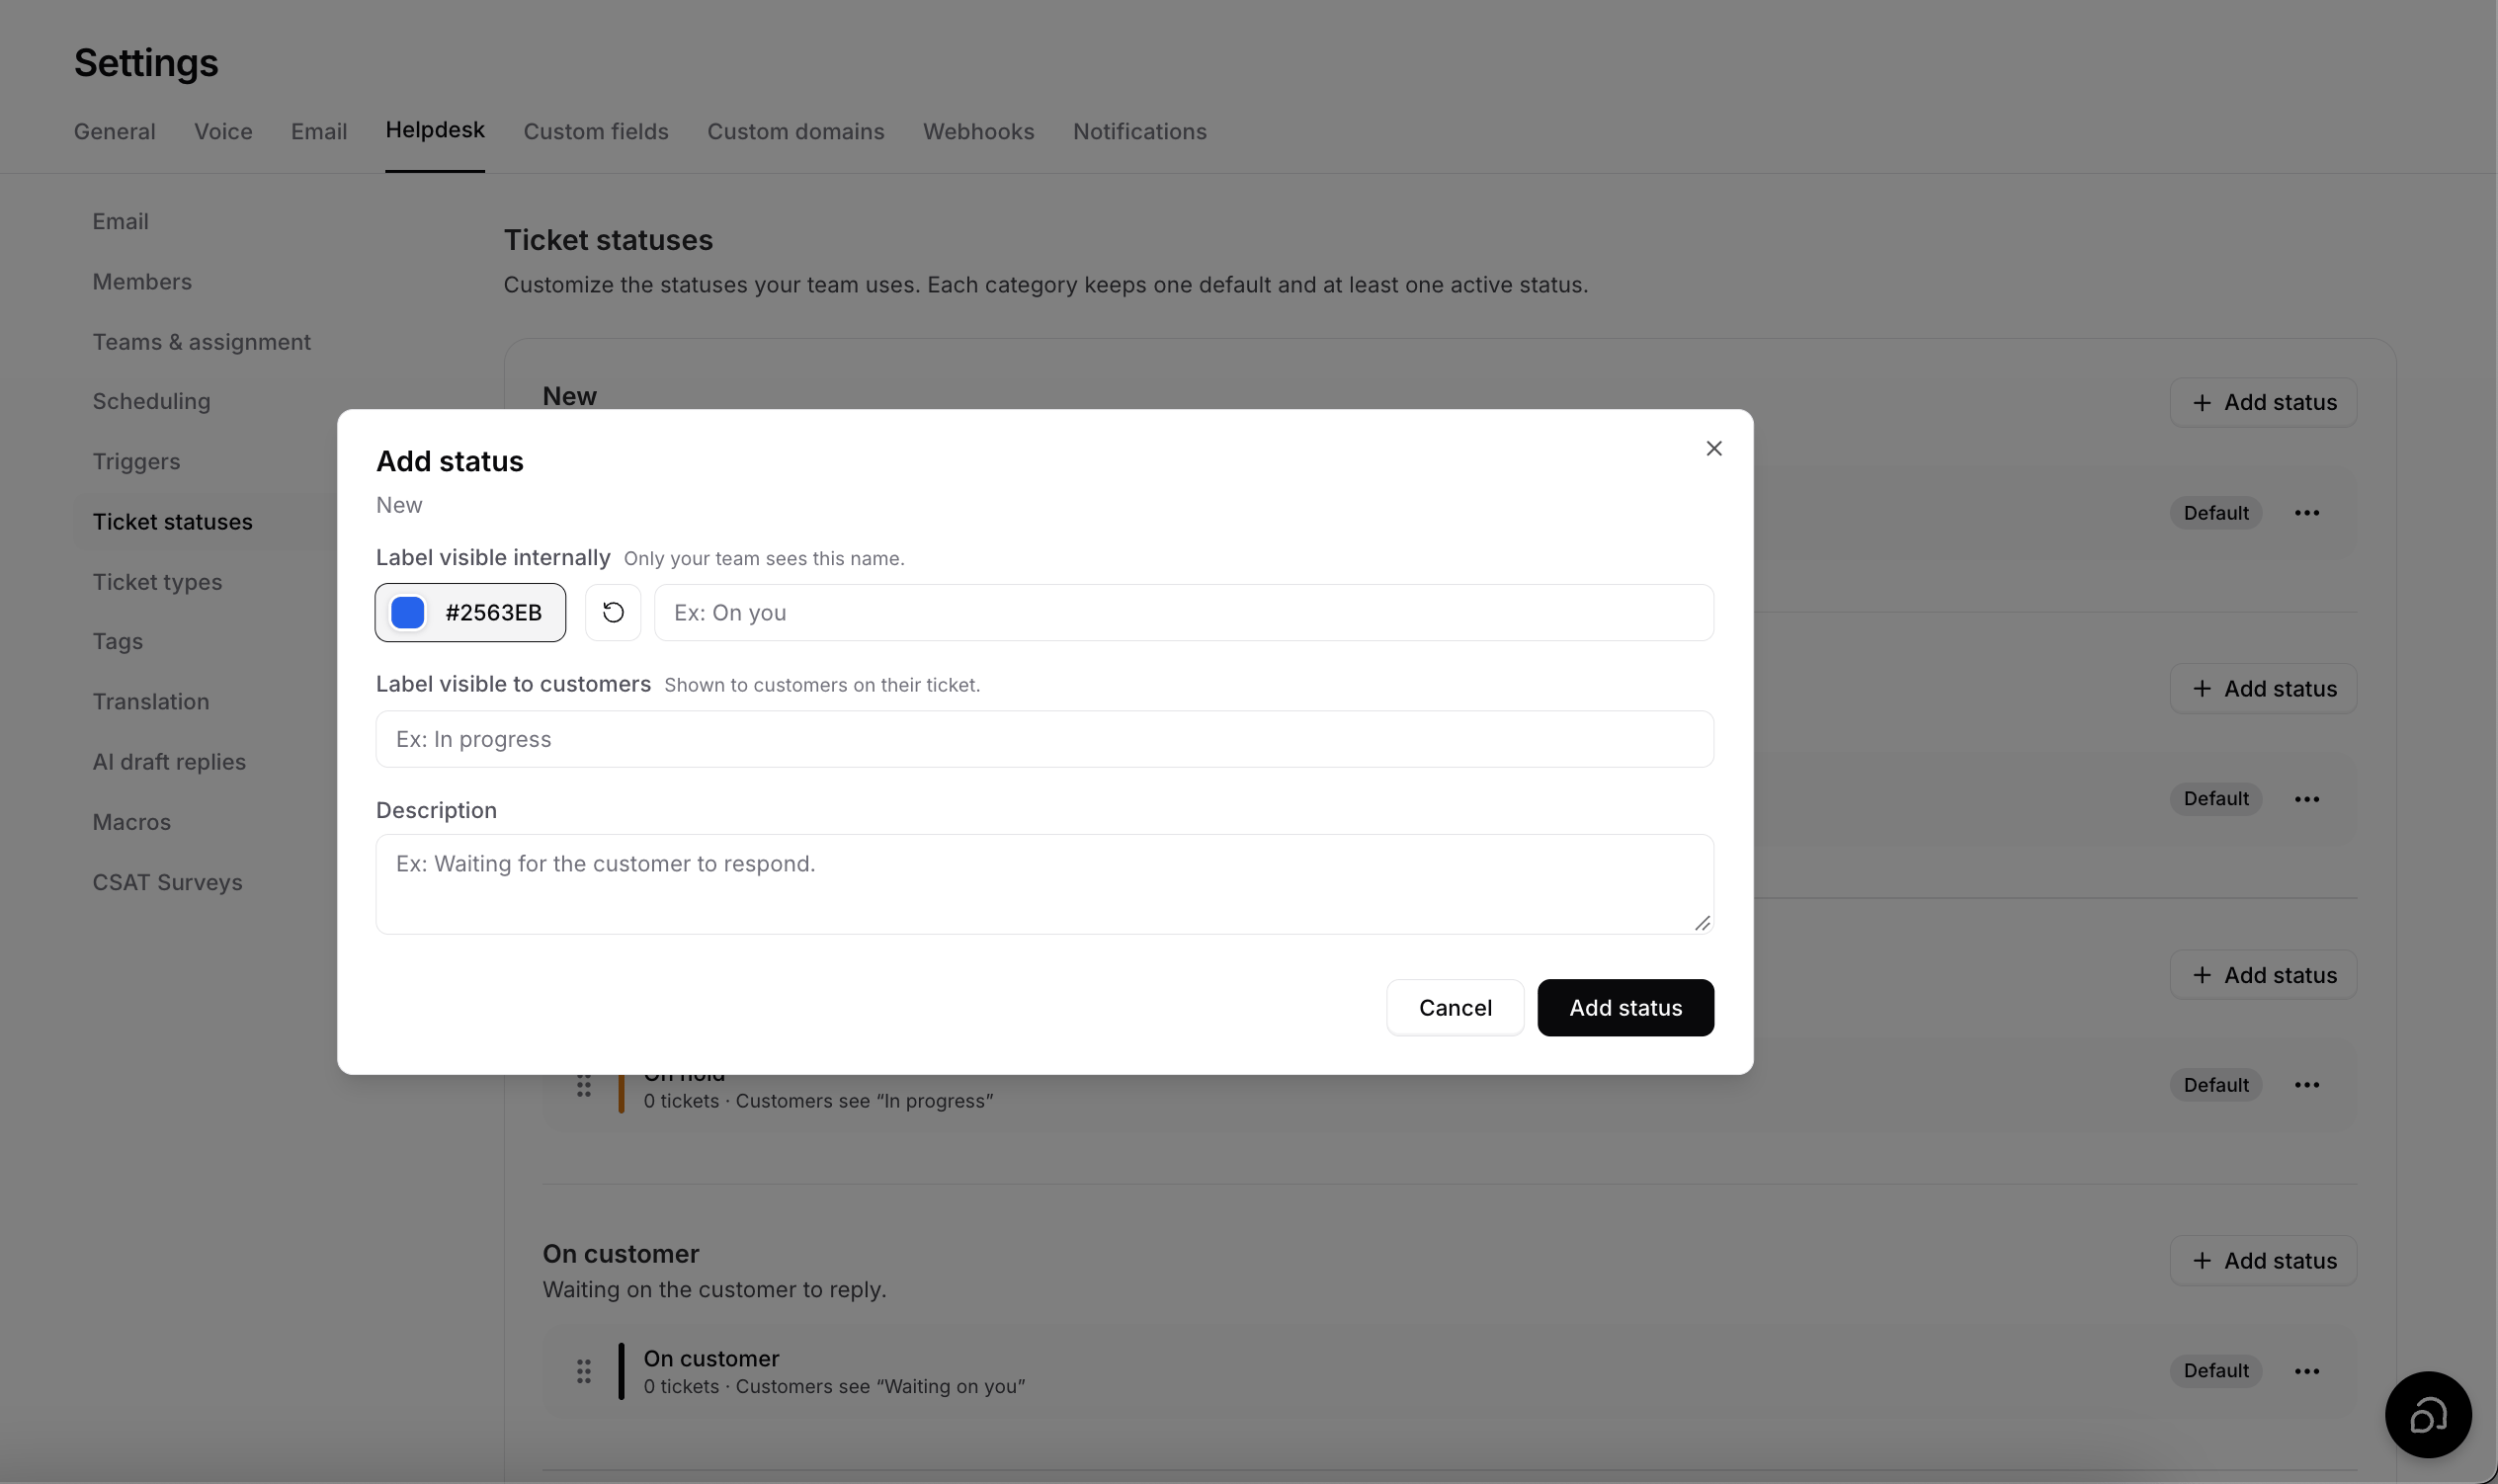
Click Add status under a category
You can’t move a status to another category later.
2
Fill in the dialog
3
Click Add status
- You can’t archive the default, or a category’s last active status.
- Archived statuses can’t be set on tickets. Use Restore to bring one back.
Using statuses elsewhere
Filters and triggers can match a category or one status. Trigger emails can use{{ticket.status}} and {{ticket.status_external}}. The Helpdesk API can set either.