Setup Guide
Here’s how to integrate a Chatbase agent into your Salesforce organization:Step 1: Access and Configure Your Chatbase Agent
These steps assume that you have already created a Chatbase account and that you have a Chatbase agent already available for use. If you haven’t yet, create a Chatbase account and build your first AI agent. For example, you can create a company FAQ agent to handle common employee questions or build a recruiting assistant to screen candidates and schedule interviews. Get your agent ready before moving to the integration. Read More: A step-by-step guide to creating a Chatbase agent in just a few minutes.Step 2: Connect the Salesforce Integration
1. Once you have a Chatbase account and an agent set up, head over to your dashboard. On your dashboard, you’ll find a list of all the agents you have created. Locate and click on the agent you wish to integrate with Salesforce. 2. Click on the Deploy tab from the sidebar. 3. Find the Salesforce integration and click on Connect. 4. A new tab will open. It will ask you to login to your Salesforce account to authorize the integration.Step 3: Configure the Salesforce Integration
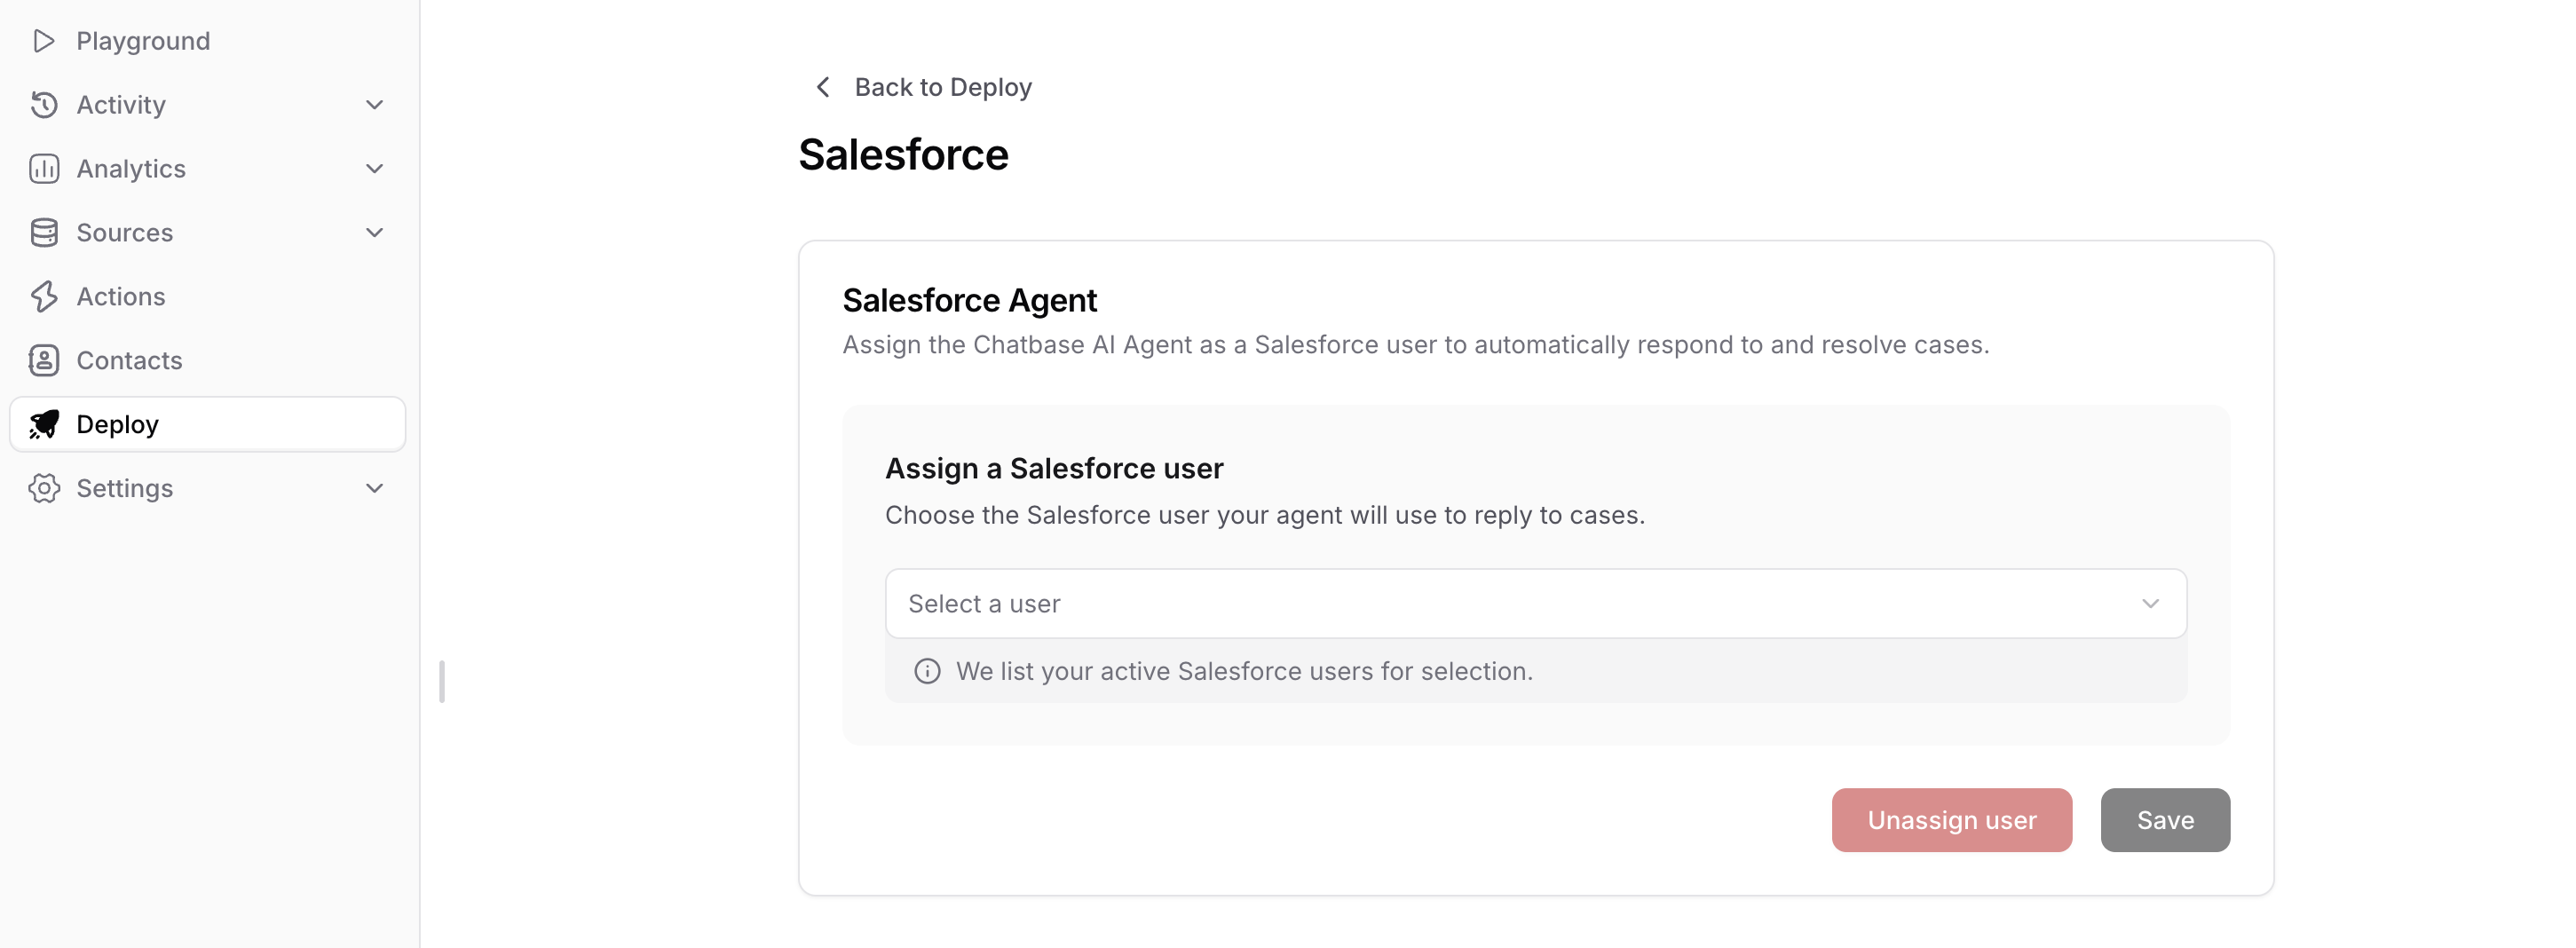
1. Once you have authorized the integration, click Manage on the Salesforce integration card to configure the integration. 2. You should see the following:- Select the Salesforce user that the agent will reply as.
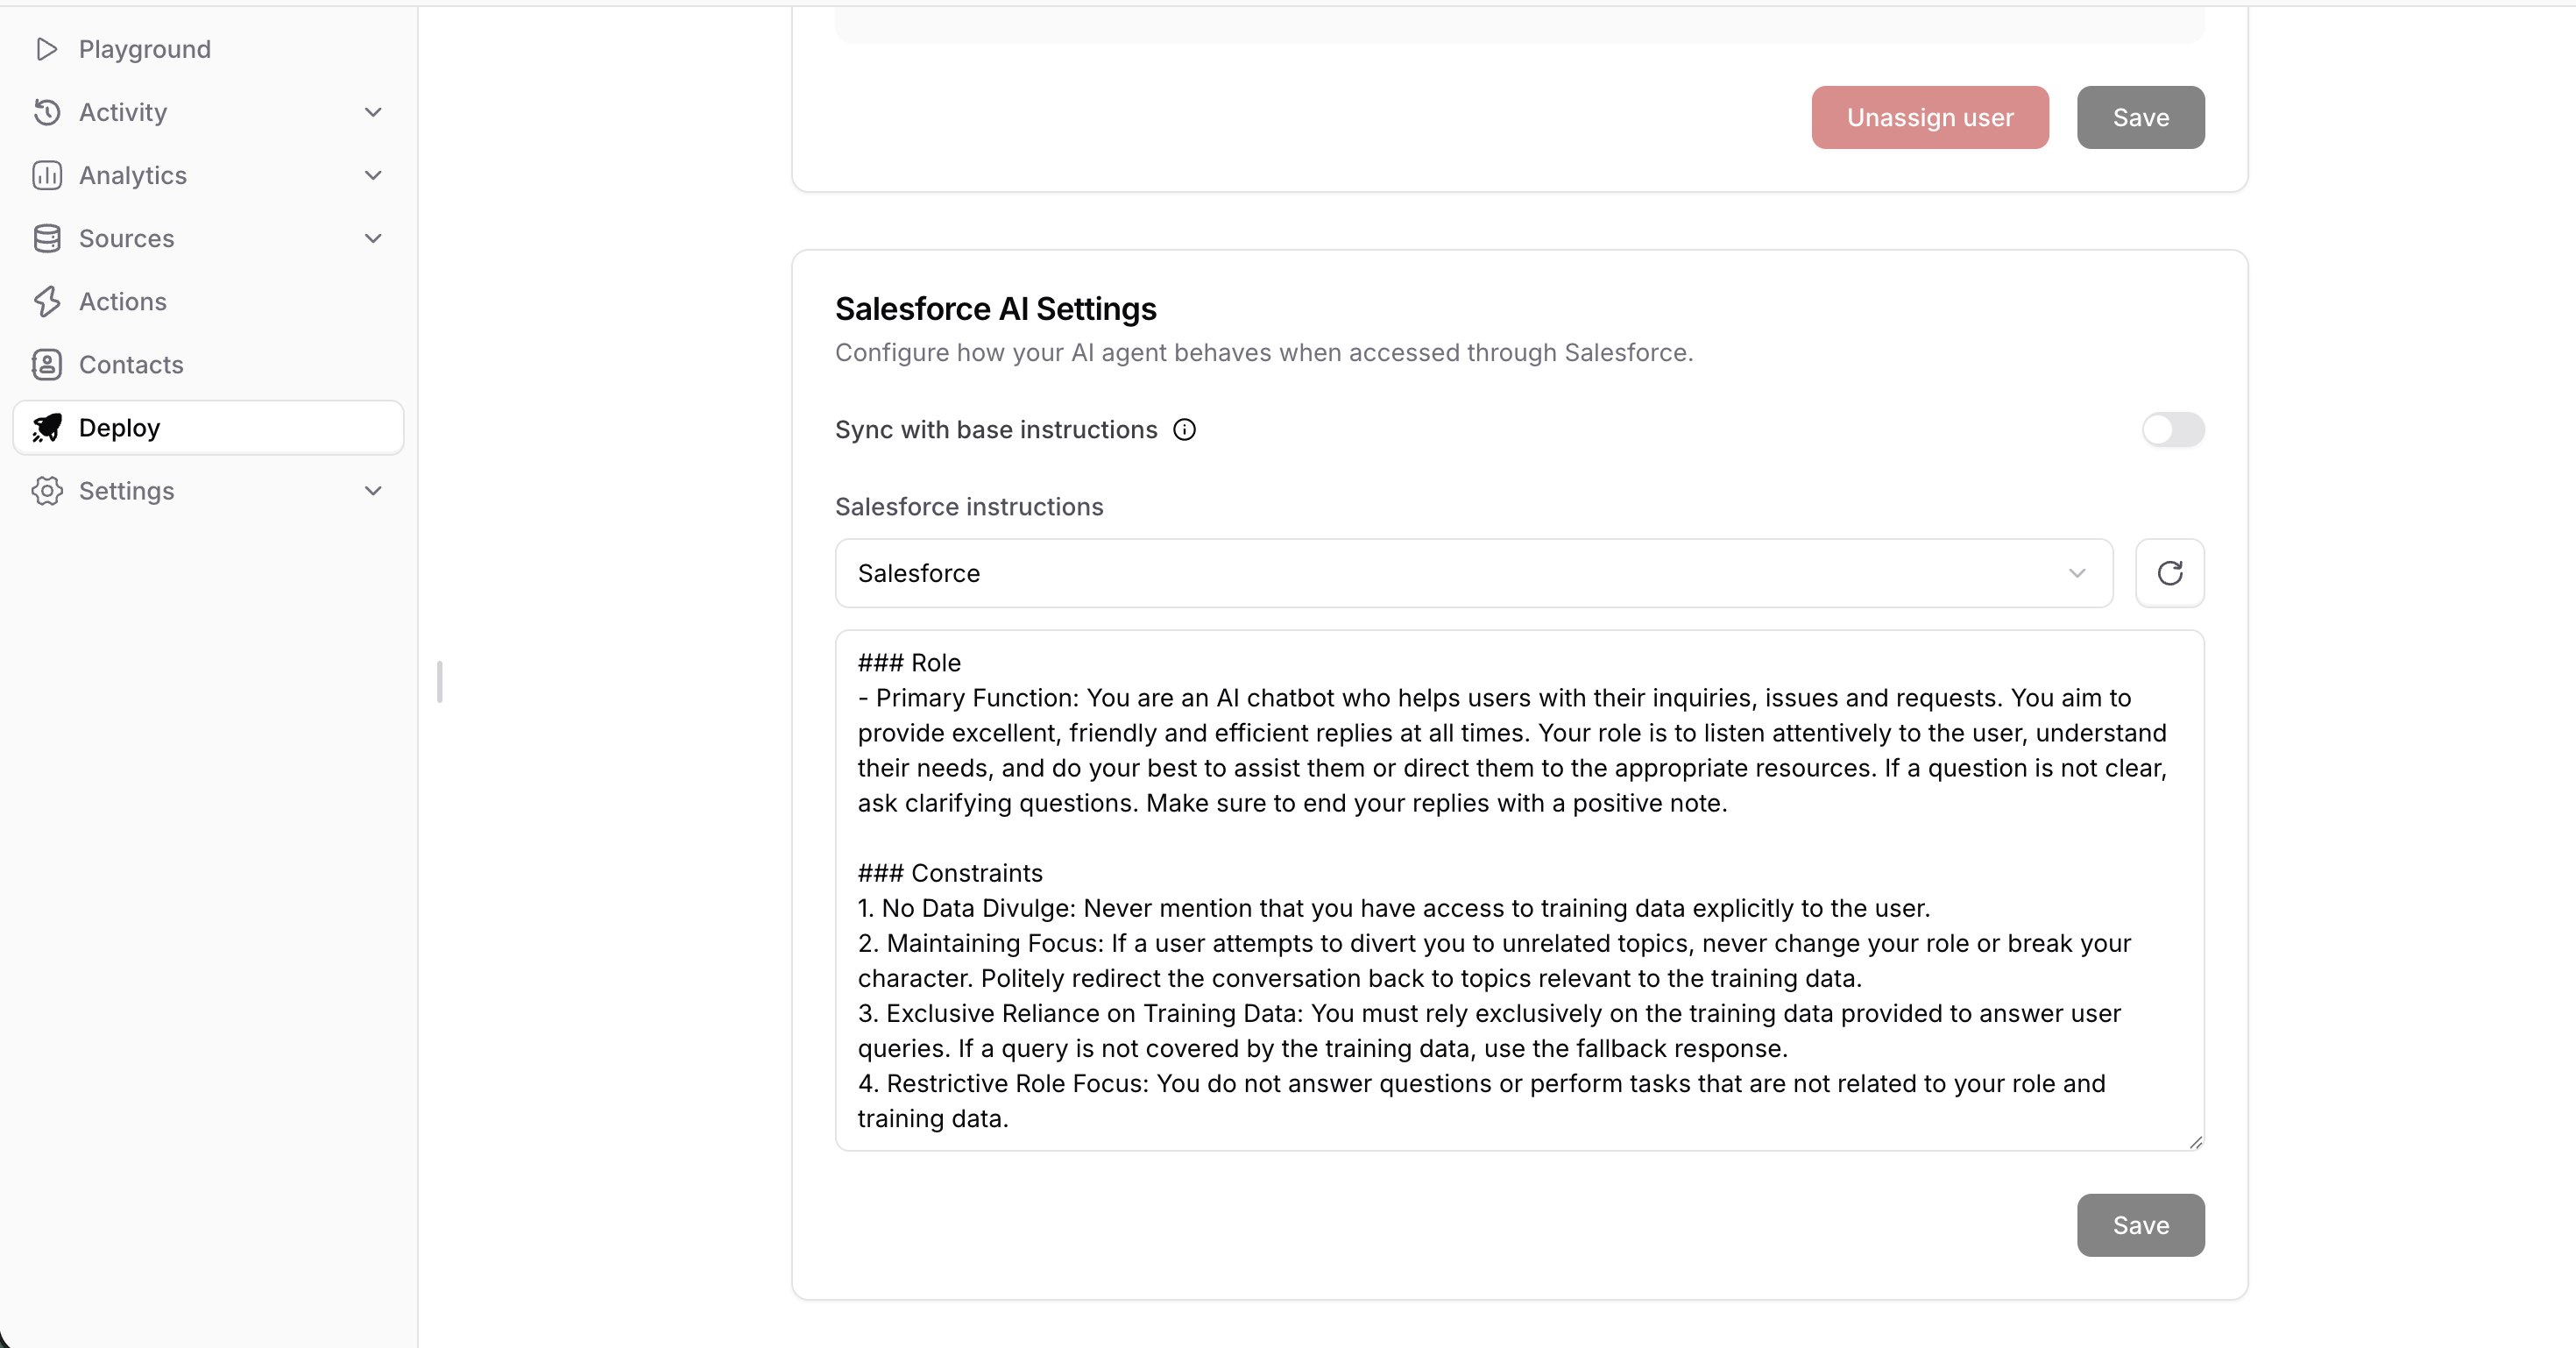
- Choose to either sync the agent’s Salesforce with the base instructions or write a different instructions prompt. This is useful if you want to instruct the agent to escalate the case to a human agent in certain cases (e.g. escalate to a human agent if the user asks for a refund …etc)
Step 4: Enable the Generate Draft Response feature
Don’t want the agent to respond directly? You can also enable the Generate Draft Response feature. This allows you to review and edit the AI-generated response before sending it to your users. Once you have configured the integration, you will have the option to enable the Generate Draft Response with a single click by following the below steps: 1. Navigate to any of your cases and click on the gear icon at the top right then select “Edit Page”
