How to Train ChatGPT on Your Own Data (2 Easy Methods)
Fares Elhelali
10 min read
How to Train ChatGPT on Your Own Data (2 Easy Methods)
ChatGPT is an incredibly knowledgeable AI tool. It commands competence across several fields. It can respond to queries on just about any topic, from technology and business to history, sports, and arts. However, generative AI tools are only as good as the data they were trained on. Although ChatGPT was trained on a very extensive dataset, there are still huge gaps in its knowledge base. The AI chatbot lacks specific information on certain topics, especially in niche areas where data is scarce.
Say, for instance, you're running a small business and use ChatGPT for business planning, how much would ChatGPT know about the dynamics of your business? If you're integrating ChatGPT into your customer support service, how much would ChatGPT know about your company and product? If you use ChatGPT to create personalized documents, how much would ChatGPT know about you?
The short answer? Very little. In these cases and many others, ChatGPT will fall short because it likely won't have enough data about you or your business. Data is the lifeblood of ChatGPT and without enough of it on any subject, ChatGPT isn't any better than a book missing crucial chapters.
You can solve this knowledge gap problem by training ChatGPT with your data. To make ChatGPT compete in niche areas, you'll need to train it on those subjects. But how?
Over 10,000 businesses already use Chatbase to train AI agents on their own data, with no coding and no ChatGPT Plus subscription required.
Well, there are two efficient ways to do this:
- Using ChatGPT Custom GPTs
- Using Chatbase
We'll go through each option to see which one works for you.
Can You Train ChatGPT on Your Own Data?
Yes. ChatGPT can be trained on your own data, and you do not need any programming experience to do it. There are two practical methods available right now, each with different strengths depending on your use case.
The first method uses OpenAI's built-in Custom GPTs feature. This lets you upload files directly to a dedicated ChatGPT instance that references your data when answering questions. The second method uses a platform like Chatbase to train an AI agent on your data that you can embed on your website, connect to WhatsApp or Slack, and deploy without needing a ChatGPT subscription at all.
The distinction matters. Custom GPTs keep your trained model inside the ChatGPT interface, meaning anyone who uses it needs their own ChatGPT Plus account. Chatbase creates an independent AI agent that lives wherever your customers are, with no account requirements for end users.
Both methods work with common file formats including PDFs, Word documents, text files, and website URLs. Chatbase also supports direct Notion integration and manual Q&A entry for teams that want precise control over the training data.
The rest of this guide walks through both methods step by step so you can choose the approach that fits your situation.
Using ChatGPT Custom GPTs
Custom GPTs are like mini programmable versions of ChatGPT you can train on specific tasks. You can think of them as a way to boost ChatGPT's knowledge on a certain subject by providing data relevant to that subject.
Suppose you want ChatGPT to help you in making tricky business decisions, you can create a Custom GPT, upload your business data, and let the AI chatbot use a combination of that data and its extensive expertise to help you take the right steps.
How to Train ChatGPT with Your Data Using Custom GPTs
To create a Custom GPT, the first step is to sign up for a ChatGPT Plus subscription at chat.openai.com if you don't already have one. A Plus subscription currently costs $20 per month.
Once you have a Plus subscription:
Step 1: Create a New GPT and Provide Base Instructions
- Go to chat.openai.com and log into your Plus account.
- Click Explore on the left-side menu. This will bring you to the "My GPTs" page.
- On the page, click Create GPT, and the GPT builder page should come up. This is where you will set up your GPT by giving it a purpose, uploading data, and training it.
- On the GPT builder page, provide a name and description for your model to define its purpose. For this guide, we will be creating a GPT to help guide customers through the process of renting a car from a local rental agency called ChicCars.
- In the interactive editor, you will need to provide a prompt to the GPT builder by describing exactly what the GPT will be doing. We will be using the prompt "I'd like you to serve as a knowledgeable advisor, assisting customers in choosing the ideal rental cars. Your role is to steer them towards decisions that benefit both the company and the customer, ensuring the best possible choices."
- Provide any additional information that you feel is necessary for the GPT builder to know more about what you want it to do.
- Tap the Configure button on the top of the interactive GPT builder to reveal the configuration options. You can change the name of your GPT or provide additional instructions here.
Step 2: Upload Training Data and Test Your Chatbot
- Scroll down to the bottom of the configuration options and click on Upload files to upload the data needed to train the GPT. For this demonstration, we uploaded a text file with data on ChicCars.
- Click the Save button in the top right corner when you have finished uploading data. Select the desired visibility for your trained GPT, such as Only people with a link, and click Confirm to finalize creating your trained Custom GPT. This should synchronize the data you uploaded with the interactive GPT builder.
- Click "View GPT" in the drop-down menu that comes up to start interacting with your trained model.
- Ask the trained model a question on the subject you trained in to see the results.
Limitations of Custom GPTs
Creating a Custom GPT is a straightforward way to build an AI assistant tailored to your needs, without any coding. By training an instance of ChatGPT with your data, you can deploy a specialized chatbot in just minutes. However, these custom models do come with limitations.
Poor brand integration: Custom GPTs don't naturally incorporate your brand's visual identity, slogans, logos, or other elements that uniquely define your image. This makes it difficult to maintain a consistent brand experience when deploying a Custom GPT.
Integration challenges: Relying on Custom GPTs as a low-code or no-code solution for business tasks like customer support chatbots may not deliver desired outcomes. There are uncertainties around how to seamlessly integrate a Custom GPT hosted on ChatGPT's platform into your own business workflows, operations, and touchpoints. If you want to explore this route further, see our guide on how to add Custom GPTs to your website.
Access barriers: To use your Custom GPT chatbot, customers would need their own ChatGPT Plus account. This added friction means you can't rely on it as a scalable customer support channel if customers don't have accounts.
Data privacy risks: Any training data used for your Custom GPT could potentially be accessed by anyone with a link to the model, allowing sensitive business or personal data to be revealed.
Data security issues: By default, OpenAI may utilize conversation logs from Custom GPT deployments to advance its own AI models. This means proprietary business data or personal info could enter the public domain through OpenAI's model training pipelines.
Custom GPTs have five critical limitations for business use. Chatbase eliminates all of them and lets you deploy a trained AI agent on your website in under five minutes.
How do you deal with these limitations? How do you ensure that you are in control of the data you share with your customers? One of the most efficient ways to train ChatGPT with your data, without the limitations that come with Custom GPTs, is using Chatbase. But what is Chatbase and how can it help you train ChatGPT with your data?
How to Train ChatGPT with Your Data Using Chatbase
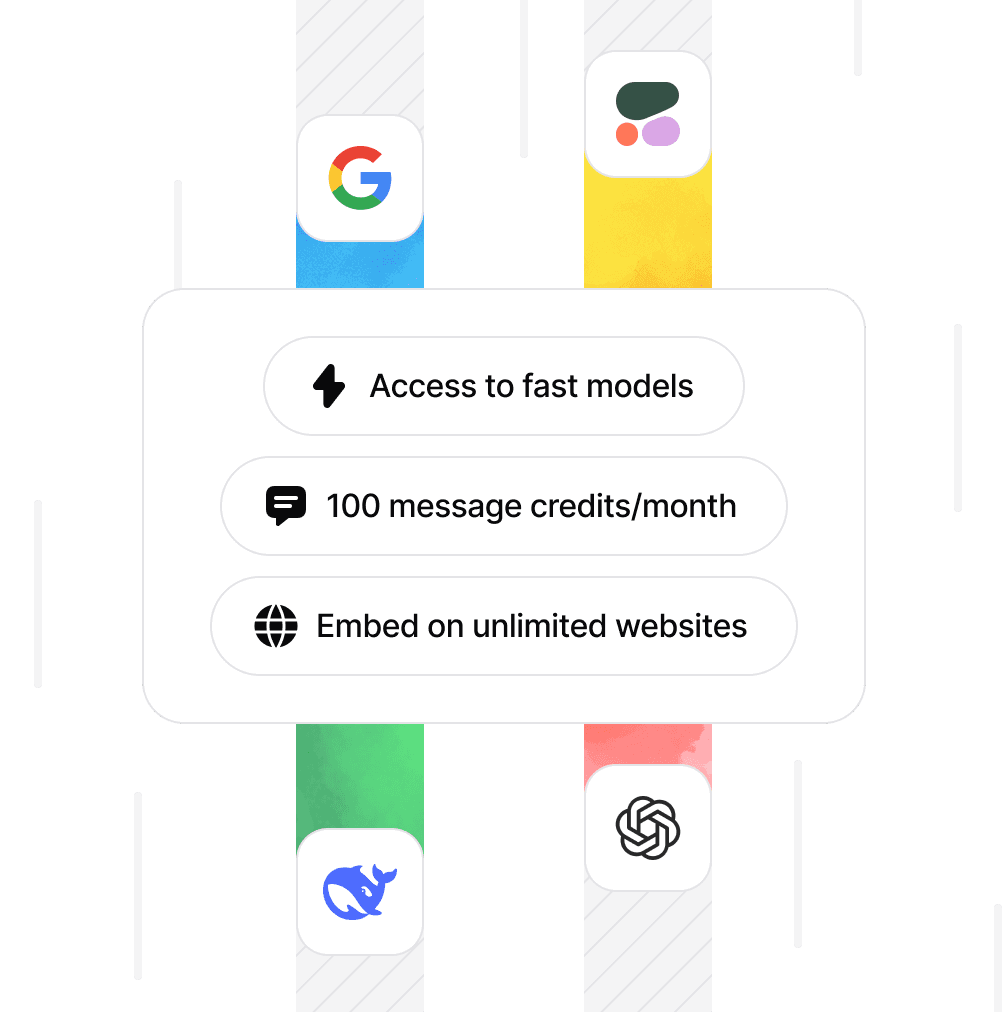
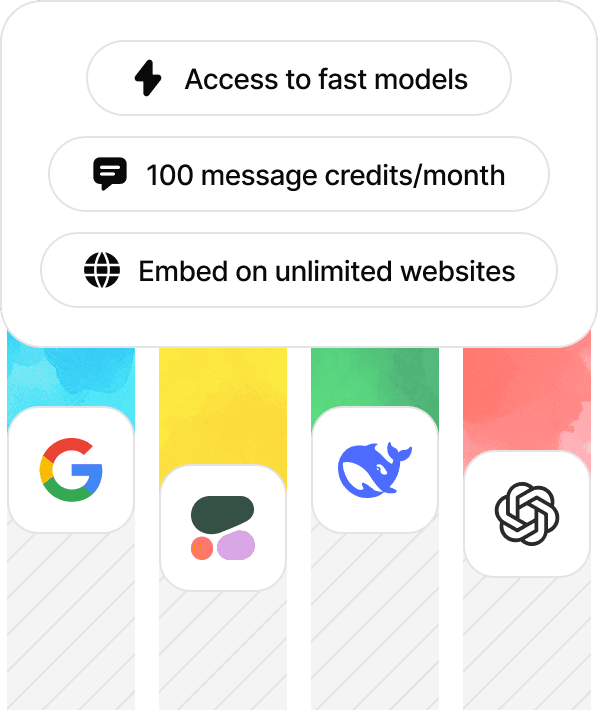
Chatbase is the easiest way to train and deploy a chatbot with your data. It is an innovative no-code AI solution that provides a simple way to manage all aspects of building a chatbot with your data, including training, configuration, and deployment. While the industry is shifting from simple chatbots to full AI agents, Chatbase lets you build either. It supports multiple leading AI models, including those from OpenAI, Anthropic, Google, and others, giving you the flexibility to choose the best model for your use case. It can help you tackle the challenges of training and integrating a custom AI agent into your business or personal life.
Here's how Chatbase can help you whenever you need to train an AI agent with your data:
- Chatbase is easy to use. You can have your first chatbot up and running within a few minutes.
- Chatbase is a secure solution. It uses the OpenAI API and ensures that your data is not used for training purposes. Learn more about Chatbase's security and data handling.
- Chatbase is suitable for both business and personal use. You can train a chatbot for a business need like serving as a customer service agent, or for a personal need like helping craft personalized documents, like emails, cover letters, reports, or resumes.
- Chatbase makes it easy to add your trained chatbot to your website. Simply generate an embed code and paste it where you want the chatbot to appear for visitors. You can also add your trained AI chatbot to your WordPress website.
- Chatbase offers flexible deployment. It provides various integration and deployment options beyond websites, including WhatsApp and Slack, allowing you to take the AI agent to where your customers are or where you spend most of your time.
- Chatbase has a free plan. Unlike Custom GPTs, you can train a chatbot for free with Chatbase, and only get a subscription when the need arises.
Here's how to get started with training your chatbot on Chatbase.
Step 1: Sign Up and Create a Chatbot
Sign up for a Chatbase account. All you need is an email and a password.
Once you've created an account and logged in, you'll be redirected to your bot creator. On the bot creator page, click on New Chatbot.
Step 2: Add Data Sources to Your Chatbot
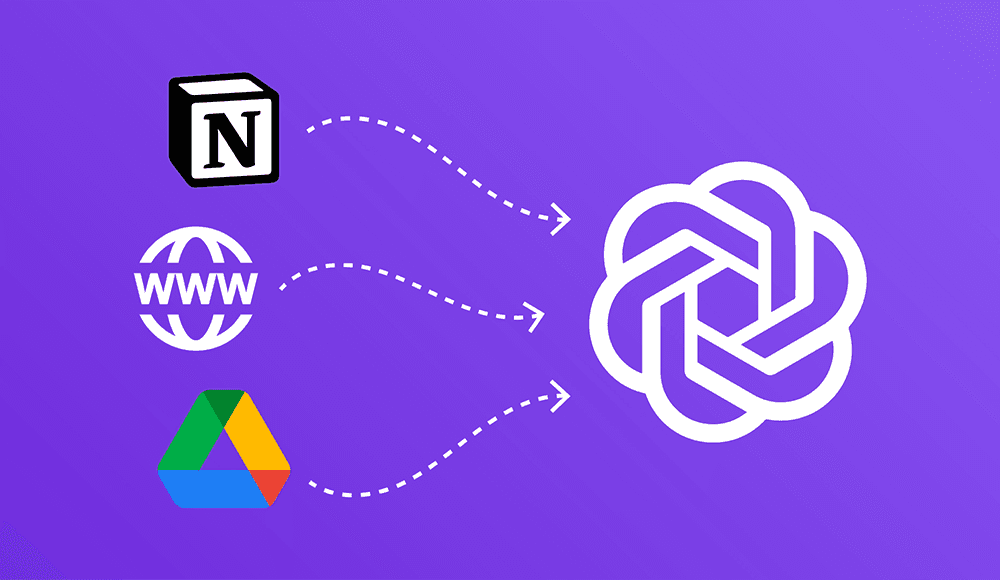
Up next, you'll get a page to add the data sources for the chatbot. You can upload your training data, use Chatbase to extract data from your website, paste or type a dataset from scratch, or pull data using the built-in Notion integration.
To use data from your computer, click on the file upload feature, select a file on your device, and click on Create Chatbot.
To paste or type training data from scratch, click on Text on the left sidebar, type the text on the text area that comes up, and then click Create Chatbot.
To use your website data for training, click on Website on the left sidebar, provide the URL of the website in the text input on the center of the page, and click on Fetch links. Once the process is completed, click on Create Chatbot.
To manually add questions and answers to your chatbot, click on Q&A on the left sidebar, click add to show fields for questions and answers, type the questions and their answers in the respective fields, and then click on Create Chatbot.
To add data from your Notion account, click on Notion on the left sidebar to integrate your Notion account to use as a data source for your chatbot. Then click on Create Chatbot.
Once you've selected a data source or a combination of data sources to create your chatbot, you'll be redirected to the chatbot page where you can start chatting with your chatbot.
Click on Settings at the top of the page to set up basic chatbot settings like choosing a name for your chatbot, or click on Connect to generate a script to embed the chatbot on your website.
After building and launching your chatbot within Chatbase, you can interact with it either on the Chatbase platform directly or through any external website or channel where you have embedded it. This allows you to chat with your customized chatbot in your chosen environment.
Once your AI agent is live, the next step is ongoing optimization. Read our guide on how to improve your AI chatbot's accuracy to keep responses sharp as your data changes.
How to Feed Data to ChatGPT (All Supported Methods)
Whether you call it feeding, teaching, or training, the process comes down to the same thing: giving ChatGPT access to information it does not already have. Here is a breakdown of every data input method available across both approaches covered in this guide.
File uploads. Both Custom GPTs and Chatbase accept file uploads. Supported formats typically include PDF, DOCX, TXT, and CSV. This is the fastest method when your knowledge base already exists as documents. Upload your product manuals, help documentation, internal wikis, or any structured content and the AI will reference it during conversations.
Website crawling. Chatbase can crawl your website and extract content from every page automatically. Provide a URL, and the platform fetches all linked pages. This is ideal for businesses with existing help centers, documentation sites, or FAQ pages that are already published online.
Direct text input. For smaller datasets or highly specific information, you can paste text directly into the training interface. This works well for product descriptions, pricing details, company policies, or any content that does not exist as a standalone document.
Q&A pairs. Chatbase lets you manually enter questions and their correct answers. This is the most precise training method because you define exactly how the AI agent should respond to specific queries. Use this for frequently asked customer questions where accuracy is critical.
Notion integration. If your team uses Notion as a knowledge base, Chatbase connects directly and pulls content without manual exports. This keeps your AI agent in sync with your team's working documentation.
The key difference between these methods is control. File uploads and website crawling are fast but give you less precision over what the AI learns. Q&A pairs and direct text input take more effort but produce more predictable responses. Most teams use a combination of all available methods.
Frequently Asked Questions
Can ChatGPT Be Trained on Custom Data?
Yes. ChatGPT supports custom data training through two approaches. OpenAI's Custom GPTs feature lets you upload files and instructions to create a specialized version of ChatGPT. Alternatively, platforms like Chatbase let you build a fully independent AI agent trained on your custom data that can be deployed on your website or messaging channels without requiring users to have a ChatGPT account. Both options accept custom documents, website content, and manually entered data. Chatbase adds support for Notion integration and structured Q&A pairs for businesses that need tighter control over AI responses.
Do You Need A ChatGPT Plus Account To Use Chatbase?
A ChatGPT account is not required to train your chatbot with Chatbase. You can sign up for Chatbase independently without an existing ChatGPT or ChatGPT Plus subscription. Chatbase has its own standalone sign-up process and credentials.
Can You Use Chatbase For Free?
Yes. Chatbase offers a free plan that includes 50 message credits per month and access to create one chatbot. This allows you to test Chatbase's capabilities risk-free to determine if it meets your needs. Premium plans offer more message credits, additional agents, advanced model access, and expanded deployment options.
You now have two proven methods for training ChatGPT with your data. The fastest path from data to deployed AI agent takes less than five minutes with Chatbase.
Share this article: