Chatbot settings
General Settings
Your chatbot's settings page is its command center, a place where you can make key adjustments to your bot's behavior and functionality. Let's take a look at each setting and what it accomplishes.
Open AI
![[object Object]](/_next/image?url=https%3A%2F%2Fcdn.sanity.io%2Fimages%2Fi6kpkyc7%2Fprod-dataset%2Fcd54a66de5fa1c33af42b84a1fb22efcd39b1eeb-1870x1102.webp&w=3840&q=75&dpl=dpl_2N6dQMkdHGYeQKaWCTHNVGamZtyU)
Instructions
The instructions allows you to establish the nature of your chatbot's interactions and give your bot a personality. You can adjust and modify the instructions to better suit your needs. For example, you can:
- Modify the bot's personality
- If you'd like your bot to have a casual and friendly tone, you can experiment with a phrase like this in your instructions: "You are a friendly and casual AI Assistant."
- Change how the bot responds to unknown queries
- Instead of saying "Hmm, I am not sure.", you might want it to say something like, "I'm sorry, I don't have the information you're looking for, please contact customer support."
- Direct its focus on certain topics
- If you want your bot to be a specialist in a certain area, you could add, "You are an AI Assistant who specializes in providing information about environmental sustainability."
- Define its boundaries
- If you want to restrict your bot from providing certain types of information, you could specify, "Do not share financial advice or information."
By tailoring your instructions, you can ensure that your bot provides the necessary information, and does it in a way that aligns with your brand's voice and values. Furthermore, it can help your bot avoid hallucinations, and prevent it from answering questions outside the scope of the data provided.
Model
This setting allows you to choose the AI model you prefer your chatbot to use. By default, it's set to the GPT-4o model, which uses one credit per message. You can opt to use any of the 10 available AI models:
- GPT-4
- GPT-4 Turbo
- GPT-3.5 Turbo
- GPT-4o
- GPT-4o Mini
- Claude 3 Haiku
- Claude 3 Opus
- Claude 3.5 Sonnet
- Gemini 1.5 Flash
- Gemini 1.5 Pro
If you use a GPT model but run out of credits and are on the Unlimited plan, you can use your personal Open AI API key. You can input your API key in the Account settings.
Temperature
The temperature corresponds with the "creativity" of the bots responses. This value is set at zero, which instructs your chatbot to choose the most likely output when generating responses, resulting in more consistent and less random answers. You can adjust this number and experiment with the bot to fit your needs.
Access
![[object Object]](/_next/image?url=https%3A%2F%2Fcdn.sanity.io%2Fimages%2Fi6kpkyc7%2Fprod-dataset%2Fec6998e820887e0784ba0f1e0384e8166b2a0637-1854x1234.webp&w=3840&q=75&dpl=dpl_2N6dQMkdHGYeQKaWCTHNVGamZtyU)
Visibility
You can set your chatbot visibility by selecting 'private' or 'public'. 'private' means that only you have access to the bot, and cannot embed it on a site. 'public' means that anyone with the link can chat with your chatbot if you send them the sharing link, and it can be embedded on your website.
Domains
Specify the website domains where you want to embed your chatbot in the text box here.
Usage Limit Settings
Chatbase offers rate limiting to prevent any abuse from users by limiting the number of messages sent from one device on the iframe and chat bubble. By default, it's set to allow 5 messages every 60 seconds, but you can adjust these values.
Leads
You can prompt a user to input their name, email address and/or phone number when opening the chatbot. The customer information is available to view in the dashboard under the "Leads" tab. You can download them in csv format, along with the conversation history in JSON format.
Chat Interface
You can adjust the user interface of the chatbot and improve the user experience by adjusting the "initial messages", "suggested messages", theme, logo, alignment, and colours.
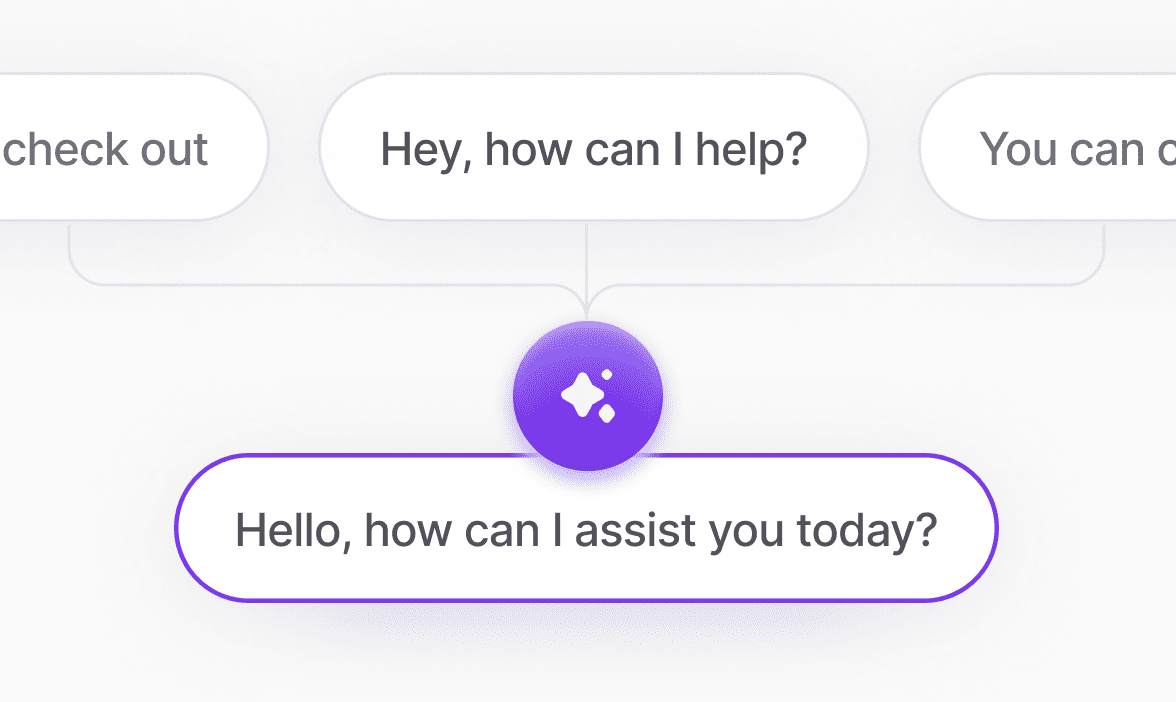
Specifically, to provide clear guidance, you might consider customizing the 'initial message' and 'suggested messages'. The 'initial message' serves as your chatbot's first point of contact with users. This message sets the tone and invites users to engage. The 'suggested messages', function as prompts to nudge users towards inquiries. These can be tailored to commonly asked questions or important aspects of your service, such as 'What is example.com?' or 'How does it work?'. In essence, these customizations guide the users' journey.
Notification Settings
Your notification settings allow you to receive email updates with chat records from your bot. You can enable notifications by typing an email and clicking "Add Email".
Next steps
By understanding each setting and adjusting them according to your business needs, you can fully leverage the potential of your Chatbase chatbot. Ensuring your bot is optimized and well-configured will provide your users with a smoother, more intuitive, and effective interaction experience.
Check out our next article on Optimizing Chatbase Chatbot Responses for more tips on optimizing user experience with Chatbase.