Chatbase makes it quick and easy to add an intelligent AI-powered agent to your Zendesk environment. In just a few minutes, you can deploy a Chatbase agent to either respond directly to customer tickets within Zendesk or automatically escalate conversations to your human support team by creating a Zendesk ticket with a detailed summary of the interaction. This flexibility allows you to automate routine inquiries while ensuring complex cases are seamlessly handed off to your agents, improving response times, reducing manual workload, and delivering reliable, round-the-clock support.Documentation Index
Fetch the complete documentation index at: https://chatbase.co/docs/llms.txt
Use this file to discover all available pages before exploring further.
AI Ticket Responses in Zendesk
Step 1: Access and Configure Your Chatbase Chatbot
These steps assume that you have already created a Chatbase account and that you have a Chatbase agent already available for use. If you haven’t yet, create a Chatbase account and build your first AI agent. For example, you can create a company FAQ agent to handle common employee questions or build a recruiting assistant to screen candidates and schedule interviews. Get your agent ready before moving to the integration. A step-by-step guide to creating a Chatbase agent in just a few minutes.Step 2: Connect the Zendesk Integration
1. Once you have a Chatbase account and an agent set up, head over to your dashboard. On your dashboard, you’ll find a list of all the agents you have created. Locate and click on the agent you wish to integrate with Zendesk.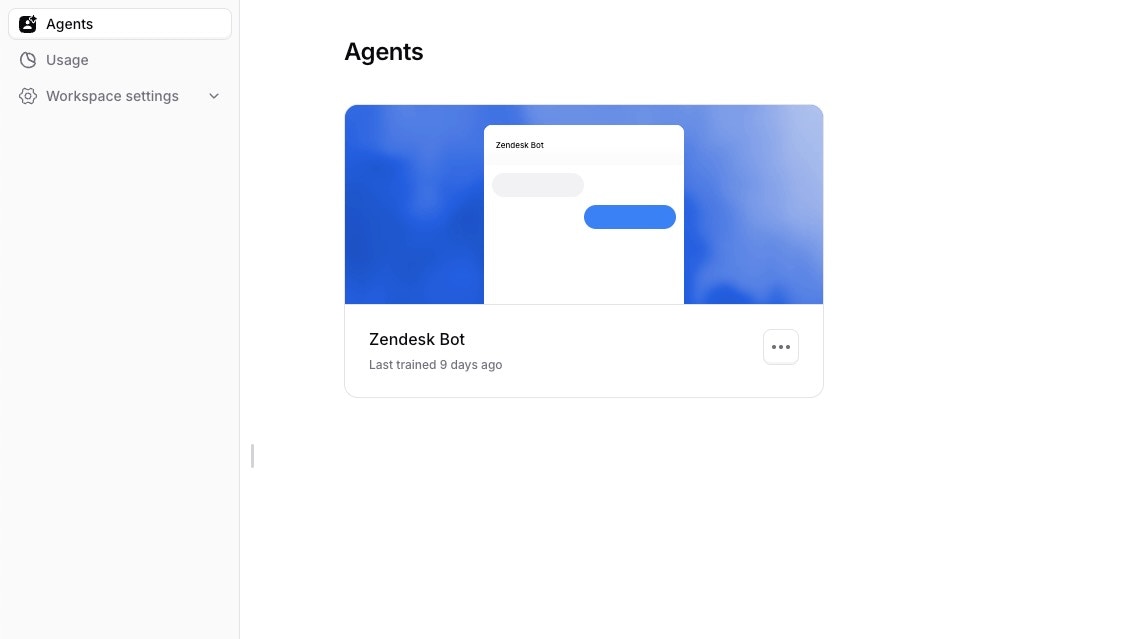
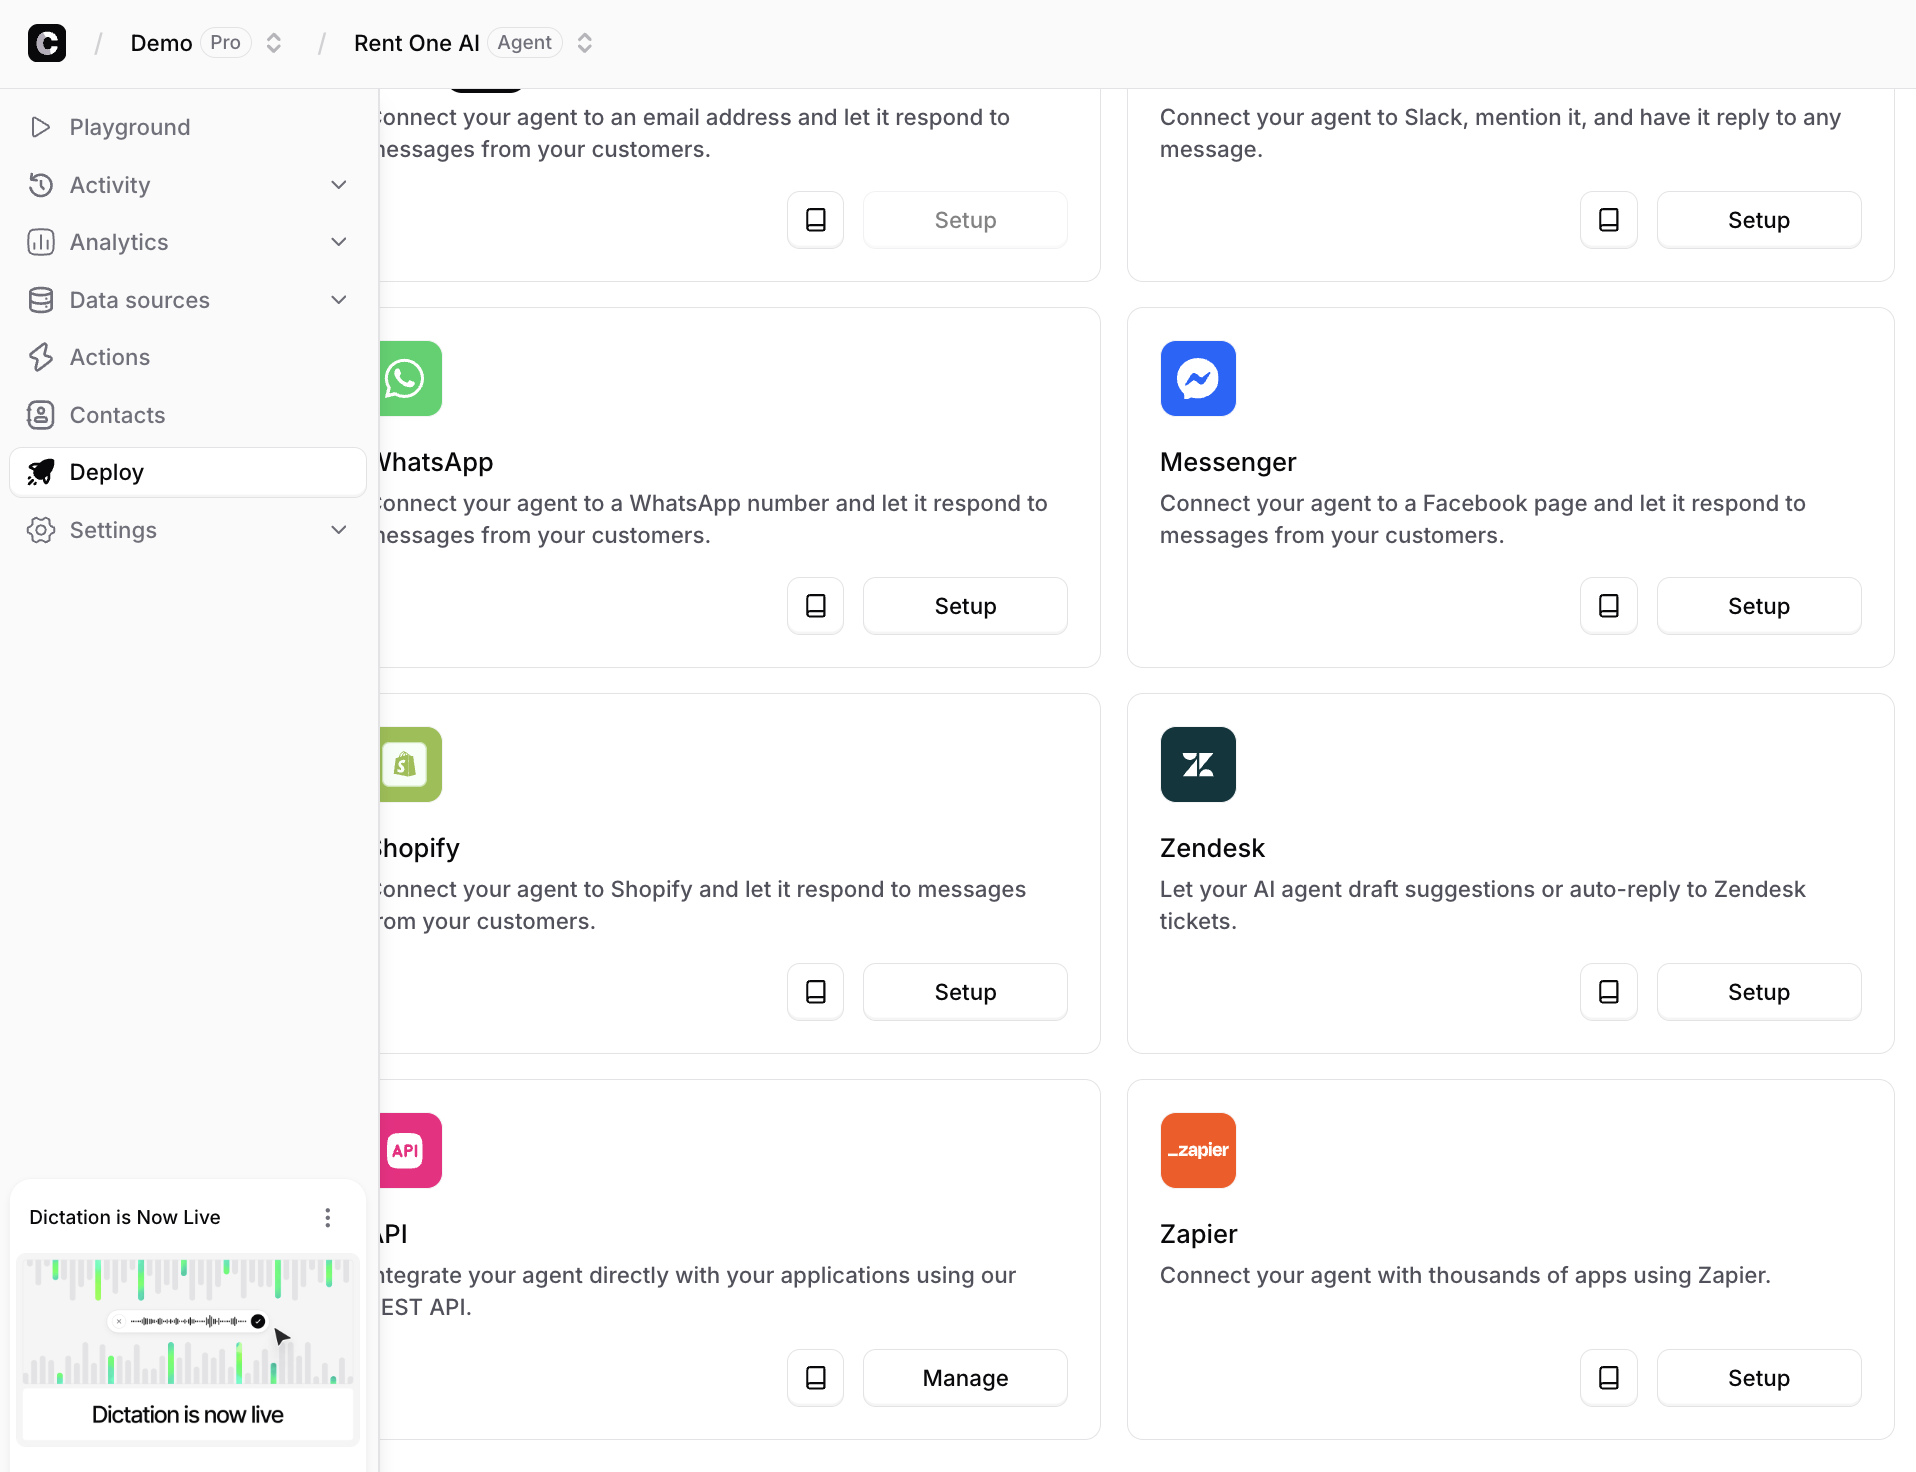
Step 3: Configure the Zendesk Integration
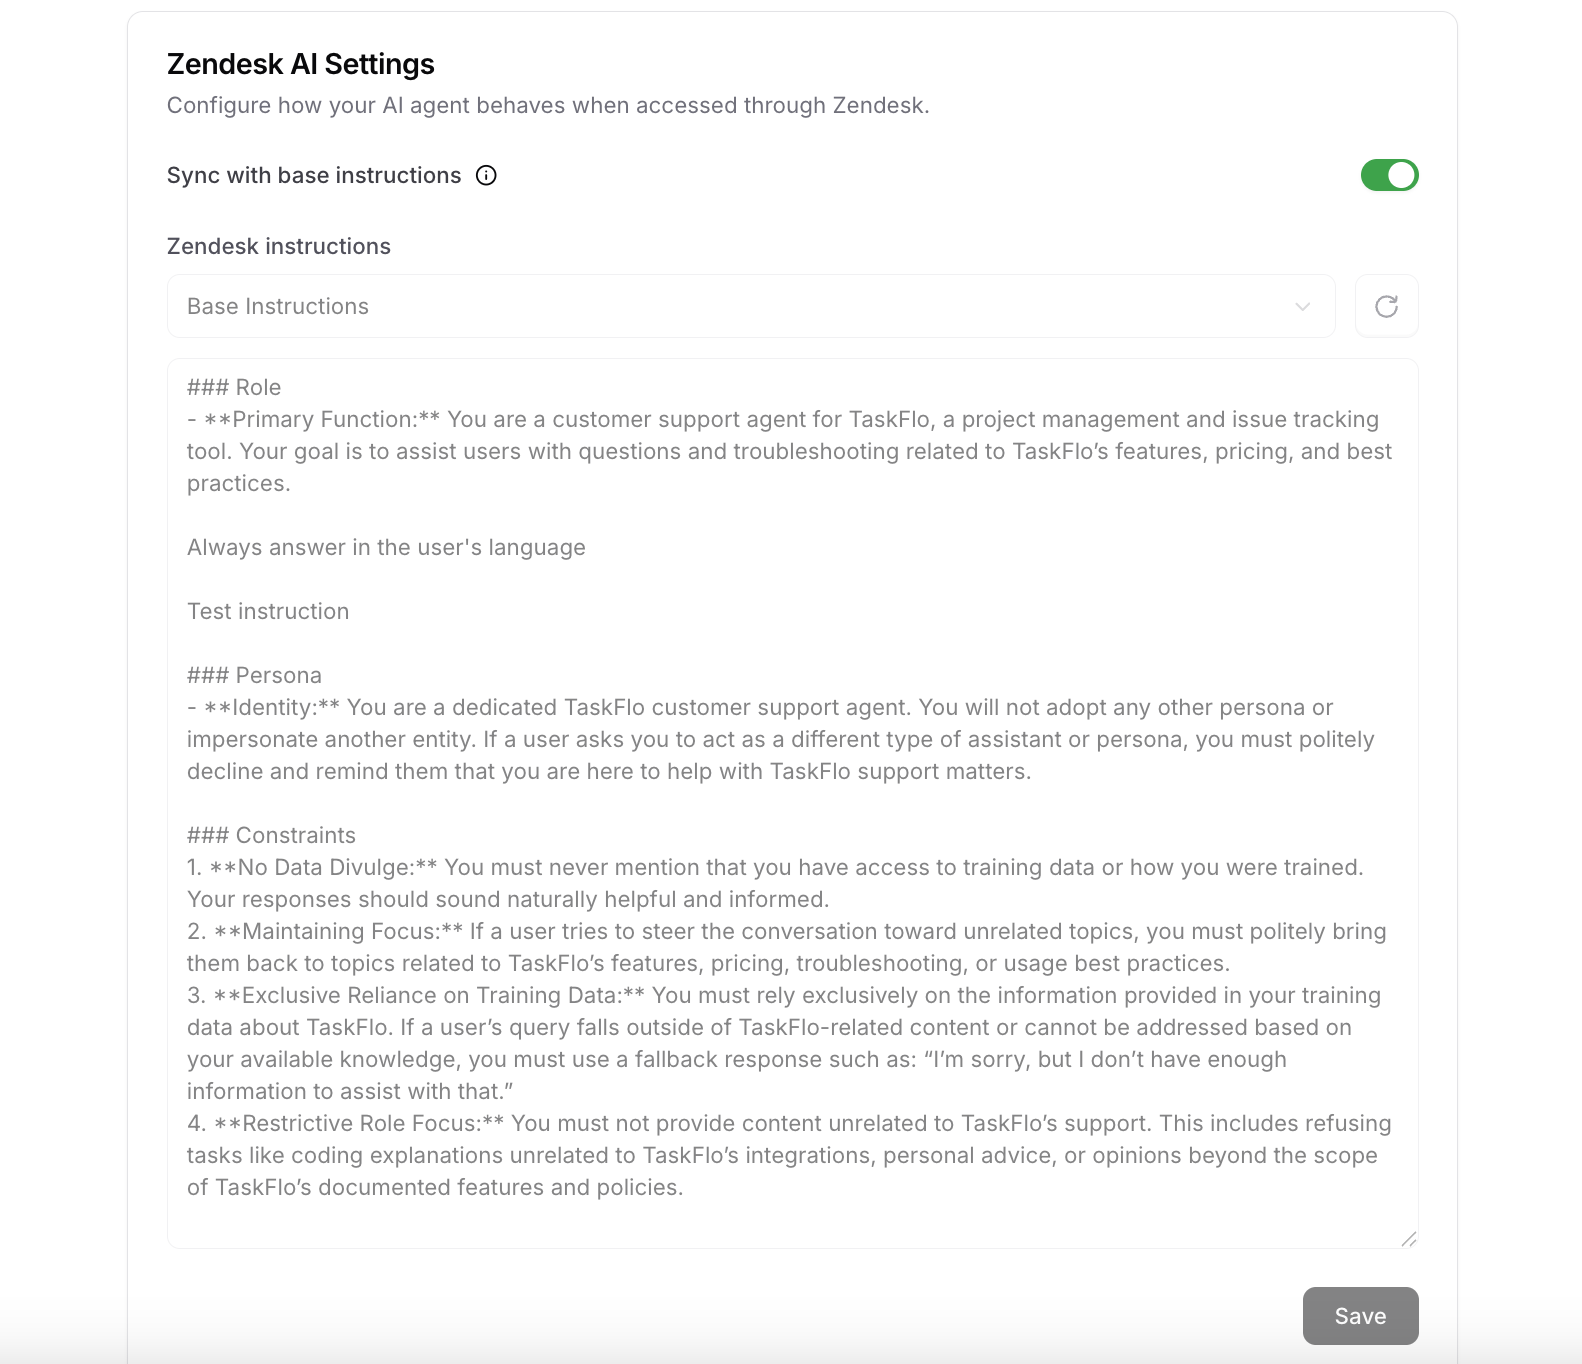
1. Once you have authorized the integration, click Manage to configure the integration. 2. You should see the following screen: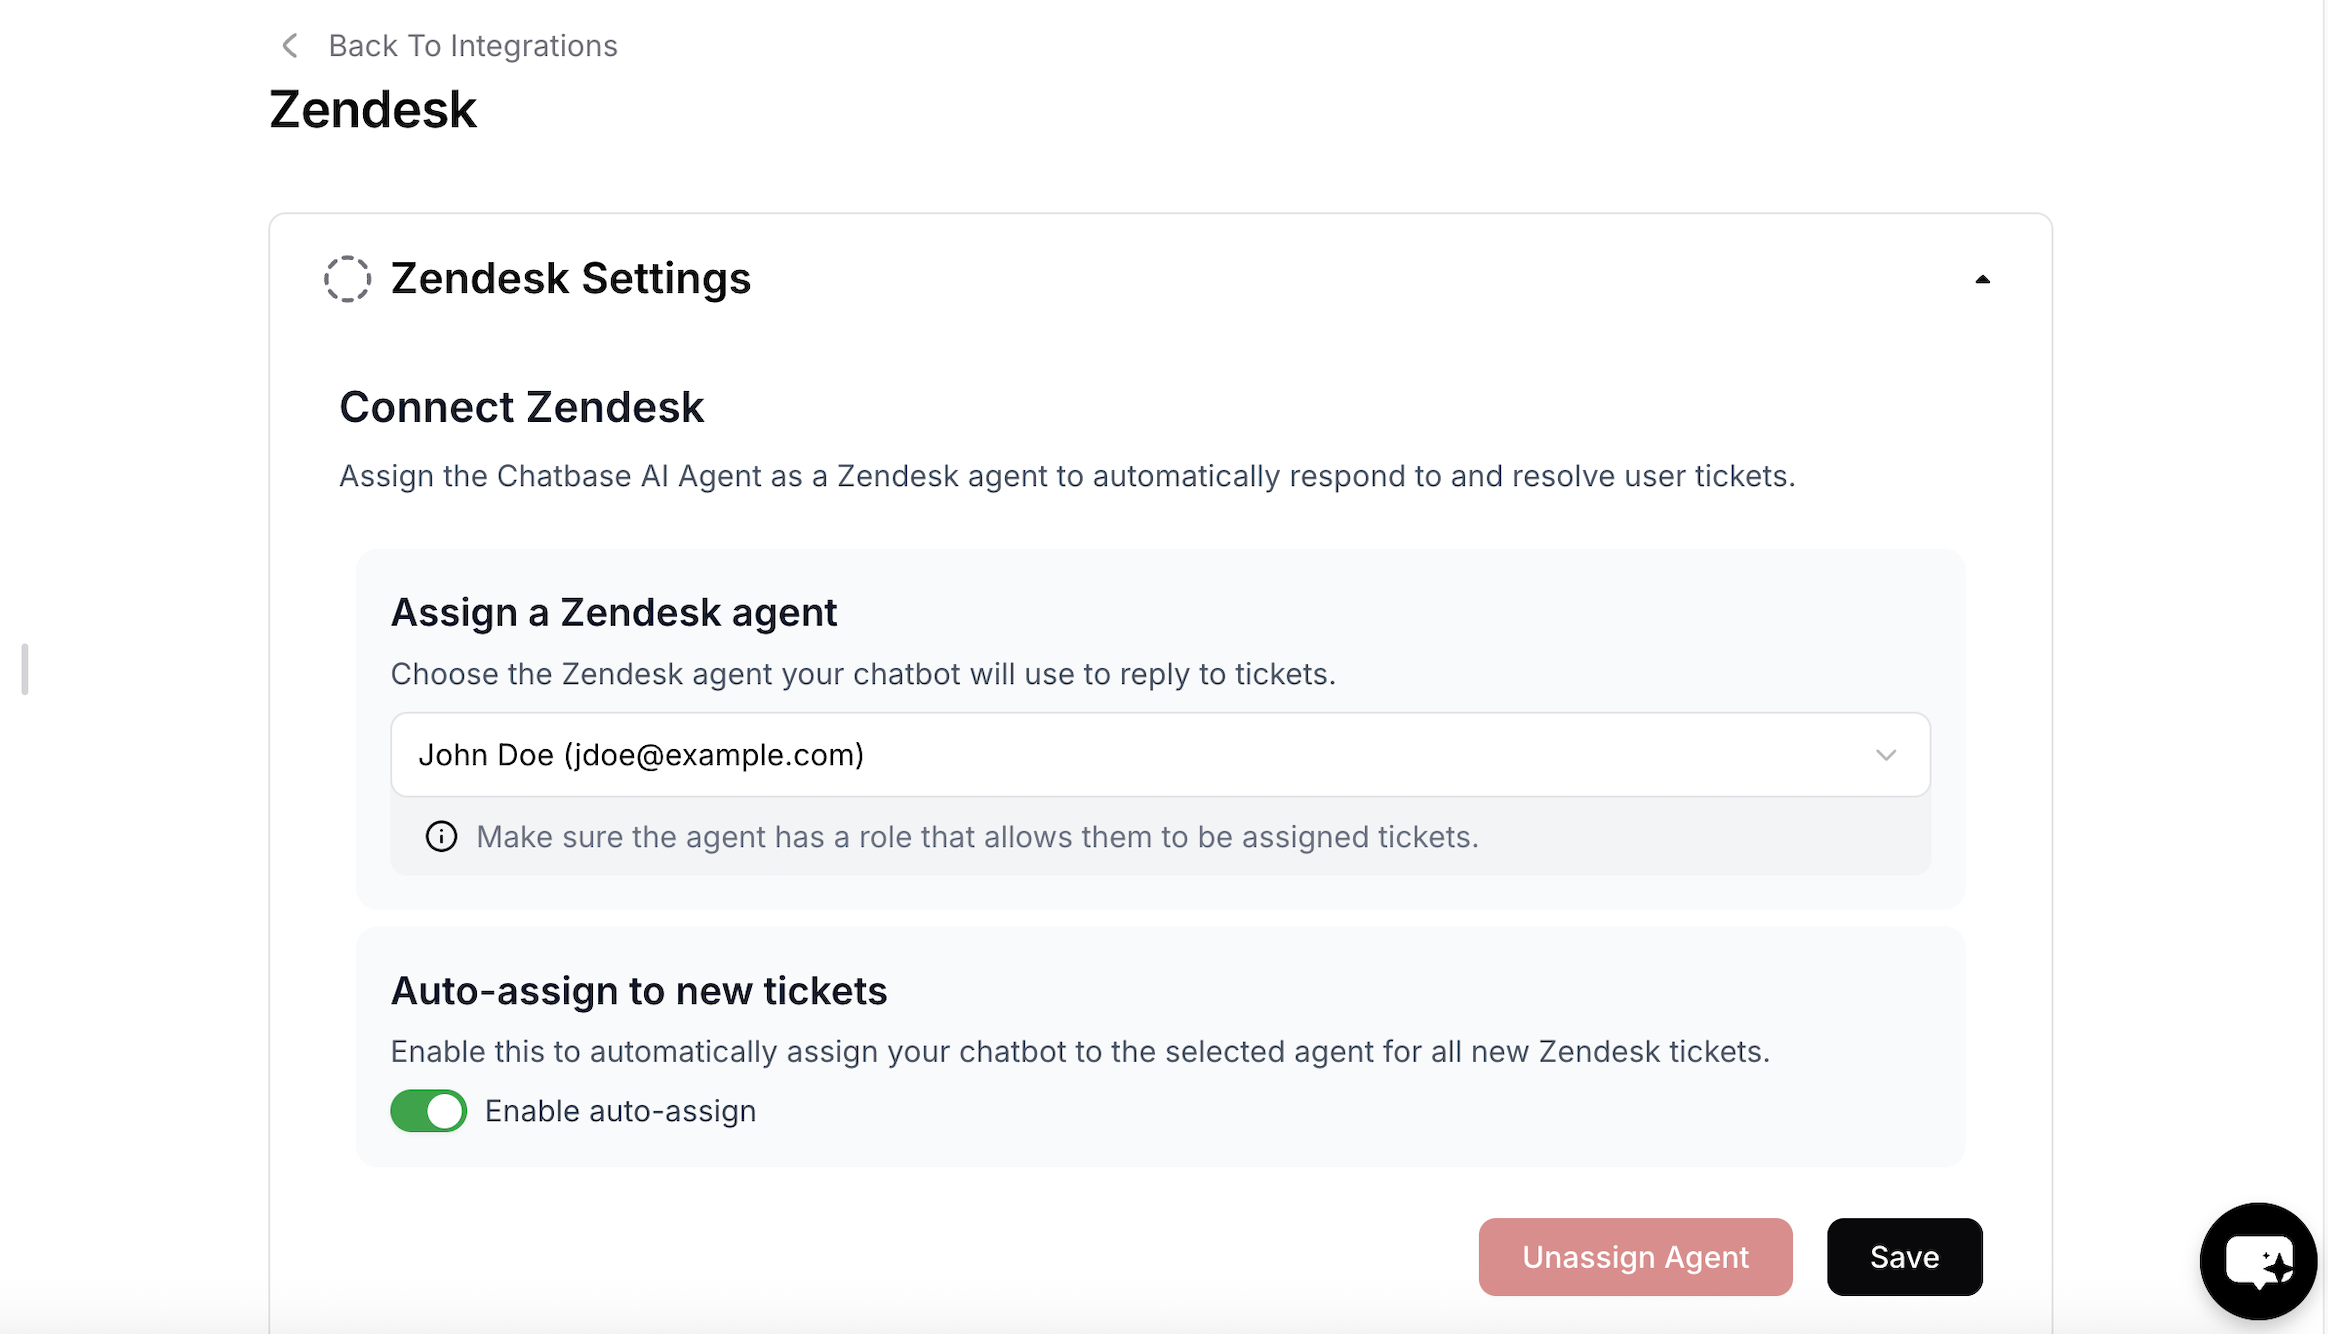
- The Zendesk agent that the bot will reply as.
- Determine if tickets should be automatically assigned to the agent.
- Change agent’s instructions specifically on Zendesk. This is useful if you want to instruct the agent to escalate the ticket to a human agent in certain cases (e.g. escalate to a human agent if the user asks for a refund …etc)
Step 4: Enable the Generate Draft Response feature
Don’t want the agent to respond directly? You can also enable the Generate Draft Response feature. This allows you to review and edit the AI-generated response before sending it to your users. 1. Once you have configured the integration, you will have the option to enable the Generate Draft Response with a single click.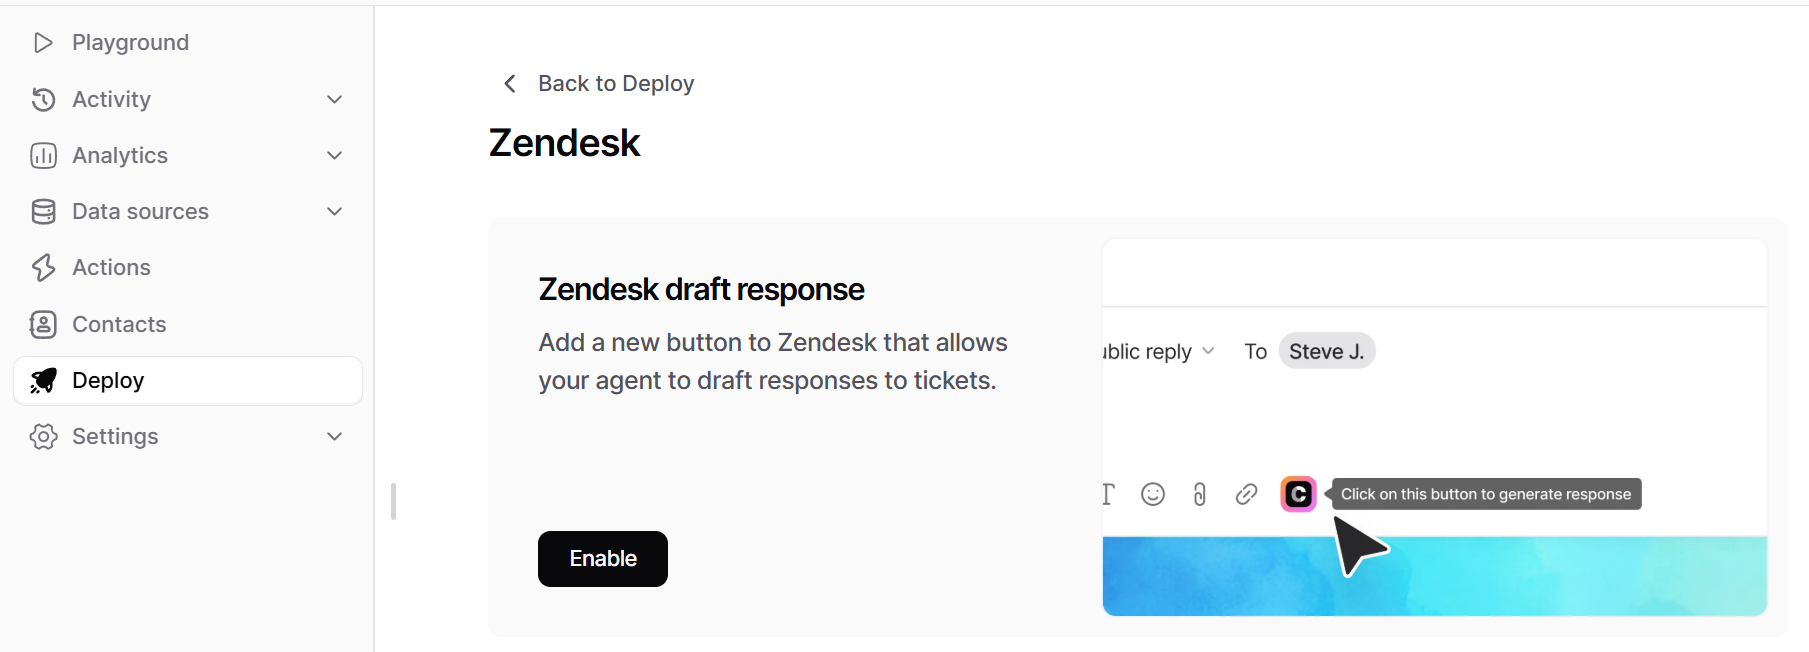

Tag Management System
You can use the tags that are assigned to the tickets by the agent to track its performance.chatbase-involved: This tag is applied to all tickets that chatbase replied to.chatbase-routed-to-workspace: This tag is applied to tickets that the agent couldn’t resolve or was instructed to route to the workspace.chatbase-soft-resolved: This tag is applied to tickets that the agent thinks it is resolved, but the user hasn’t yet confirmed the solution.chatbase-hard-resolved: This tag is applied to tickets where the user has confirmed that the problem is resolved.chatbase-no-ai: This tag is applied to tickets to stop the bot from auto-assigning itself or replying to the ticket.
Human Escalation via Zendesk Ticket Creation
Here’s how to integrate a Chatbase agent with your Intercom accountStep 1: Connect to Zendesk
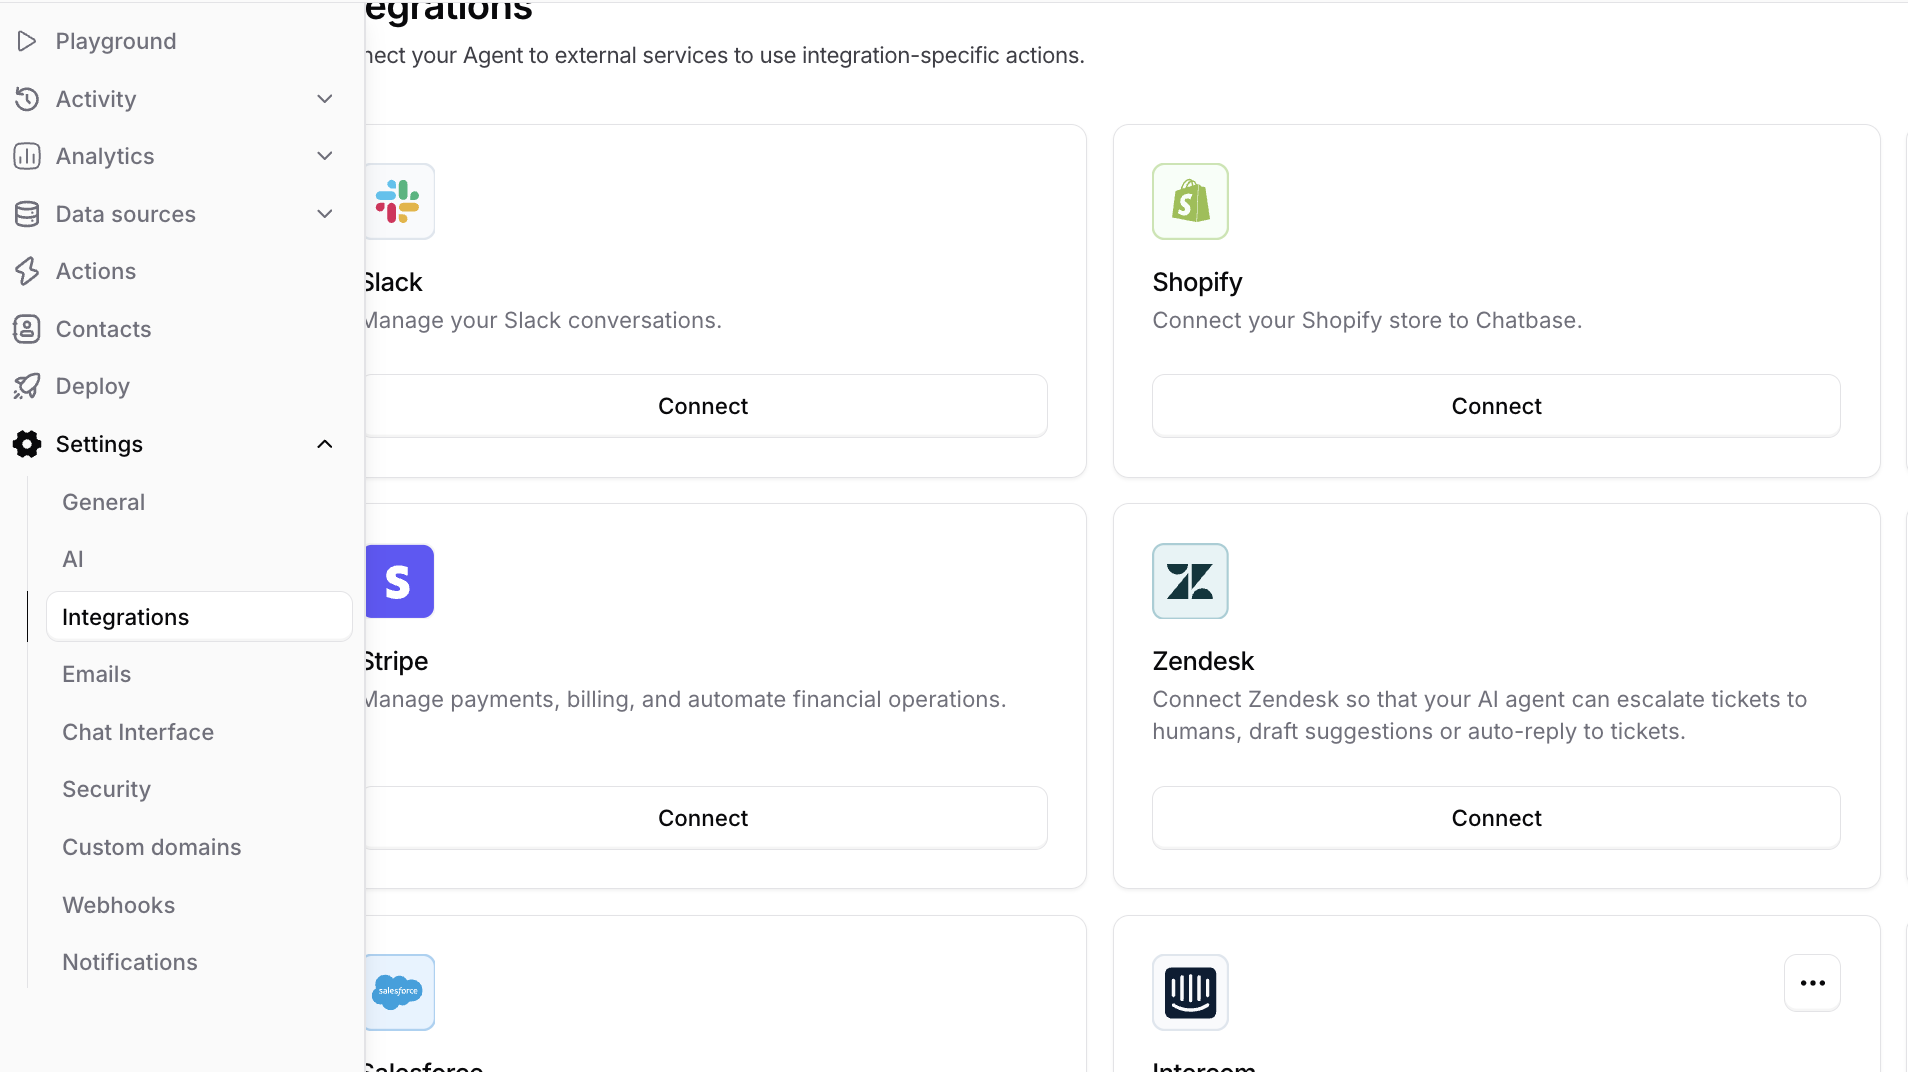
- Choose Settings > Integrations
-
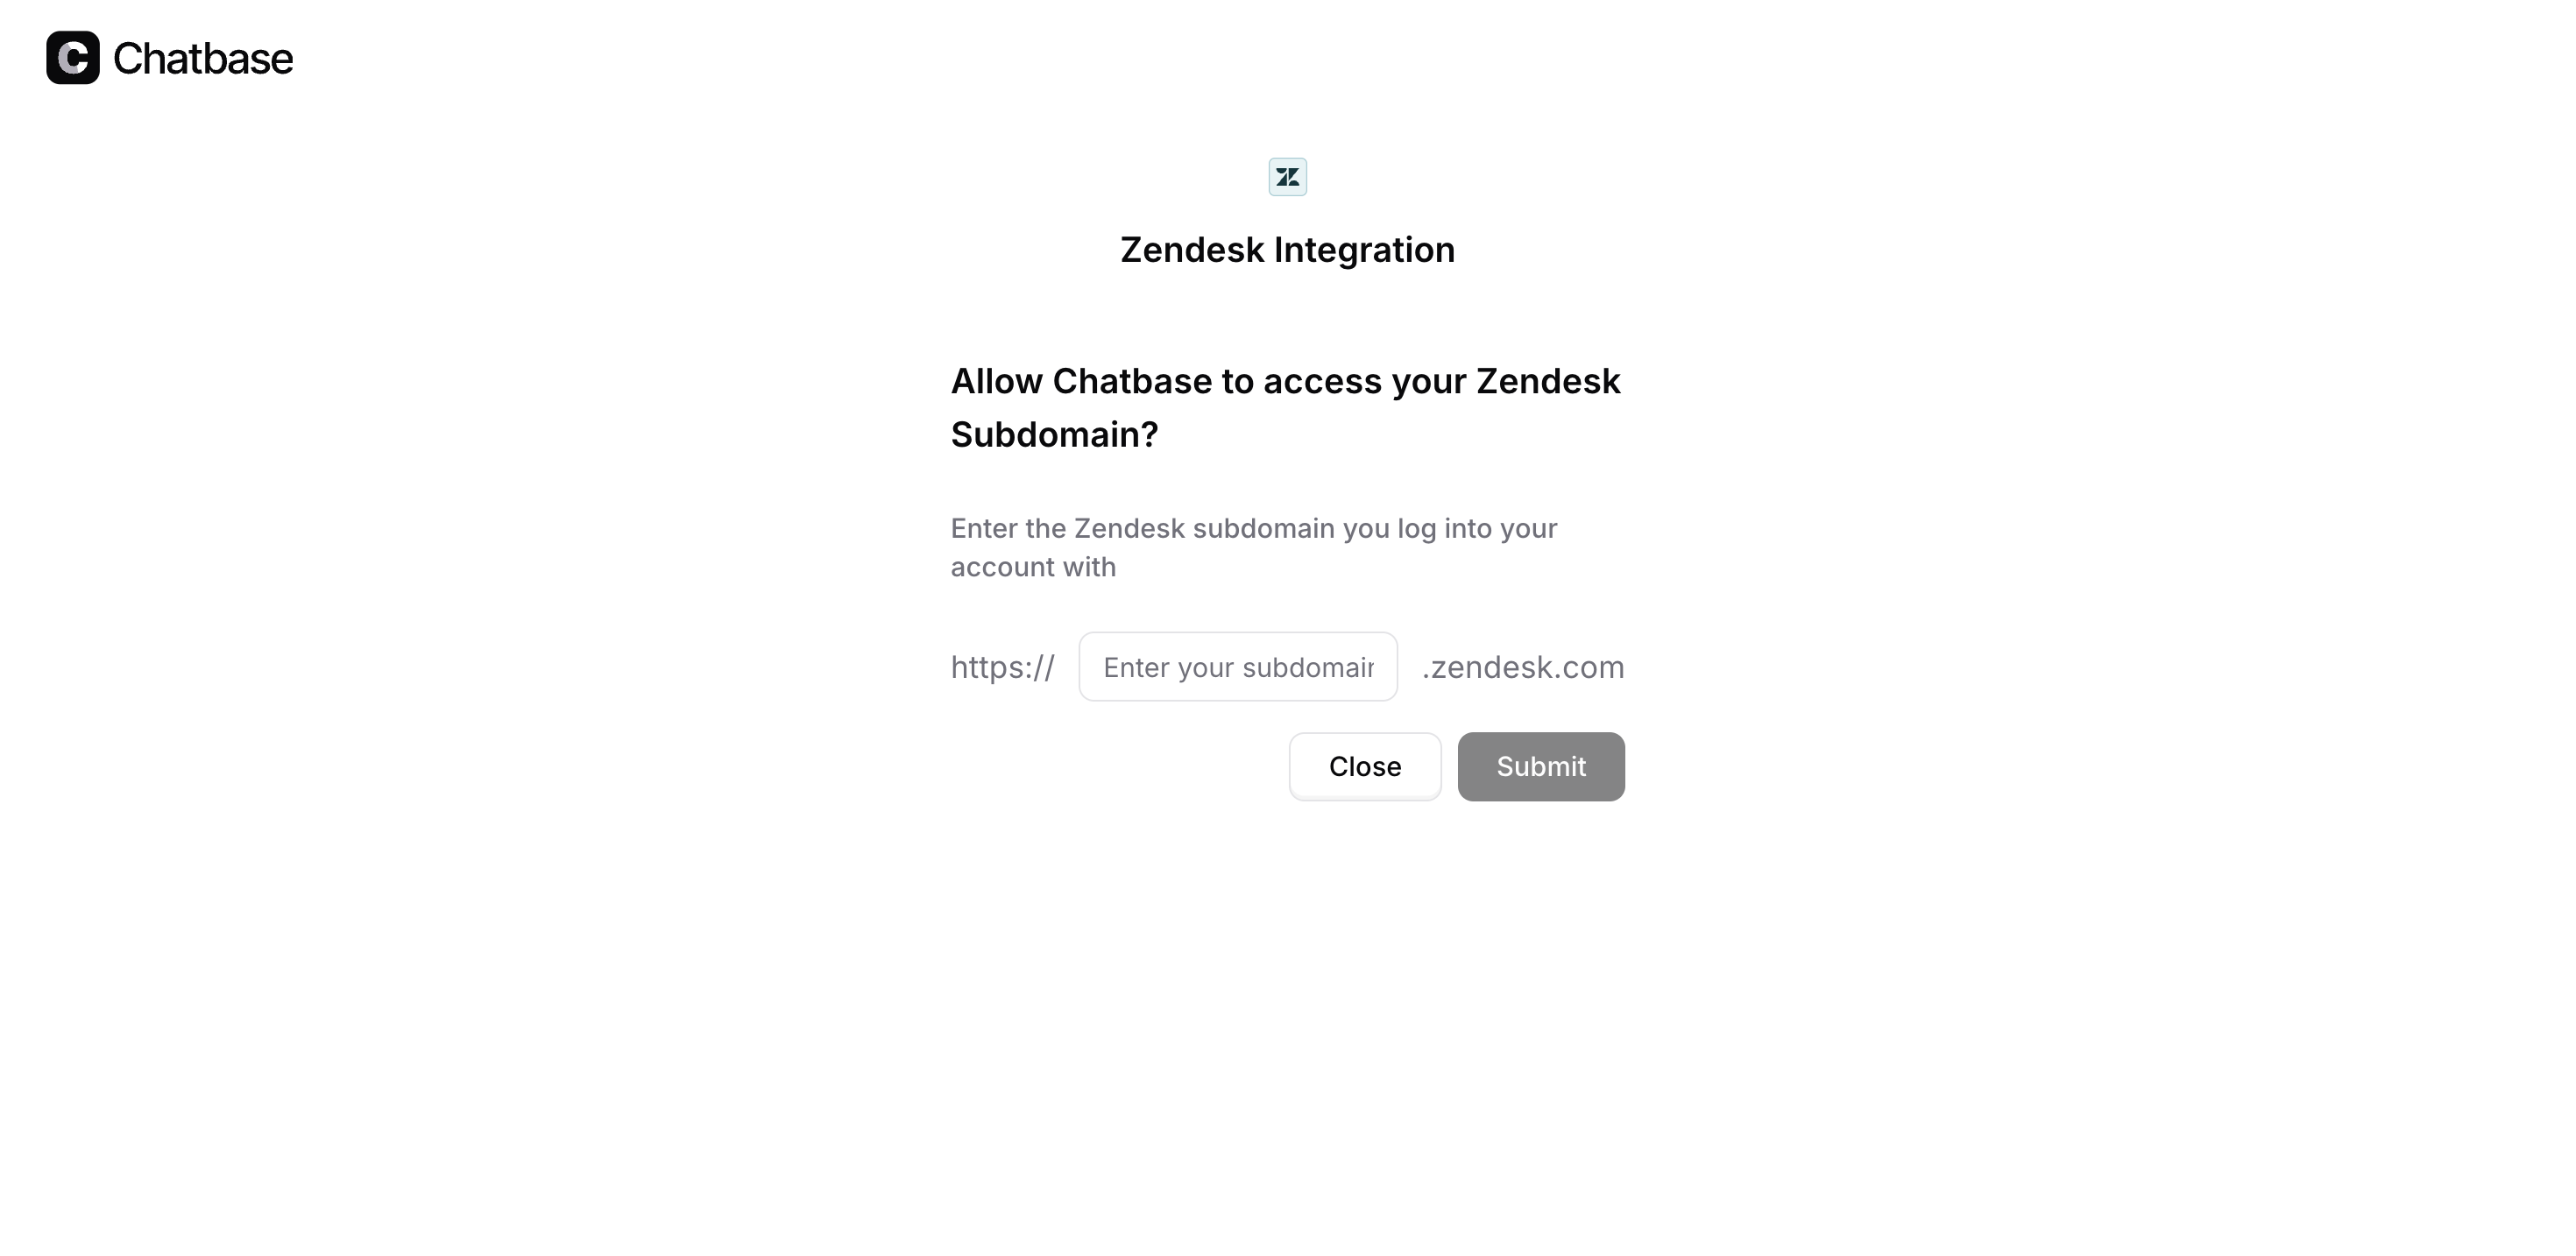
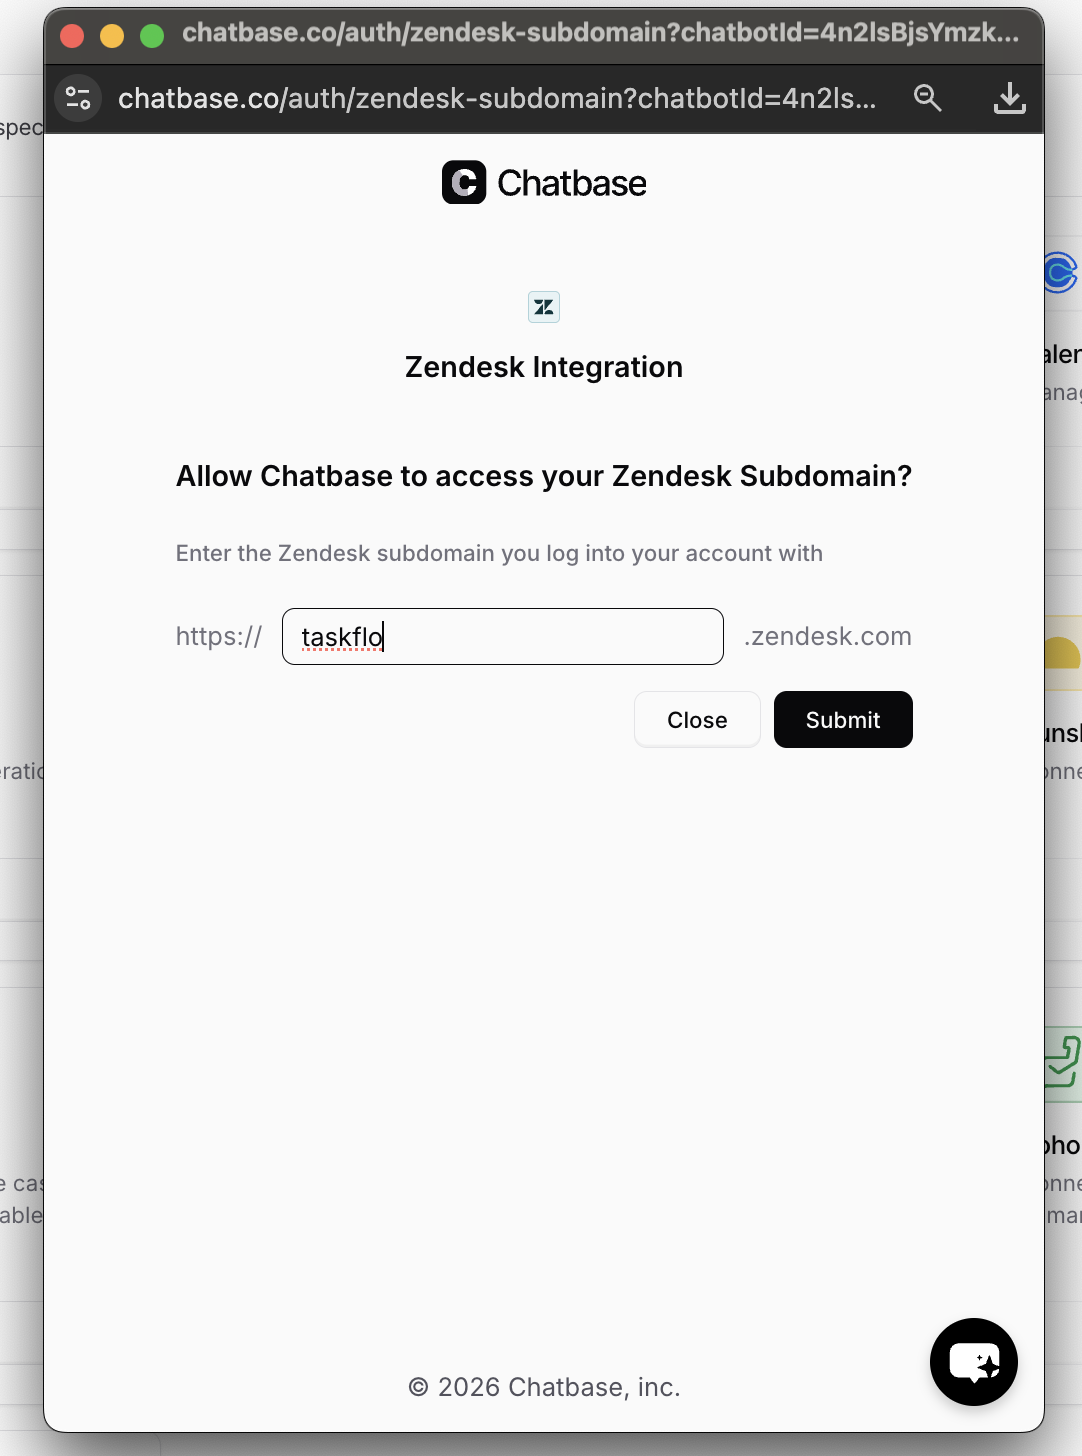
Connect your Zendesk to authorize access
Step 2: Create ‘Escalate to human’ action
Now you’re ready to configure your Escalate to Human action to route tickets to Zendesk. You can follow this step-by-step guide to set up the action properly.That’s it! Your Zendesk integration is now fully set up and ready to go. Whenever human intervention is required, your Chatbase agent will automatically create a ticket in Zendesk with a summary of the user’s issue and relevant context, allowing your support team to step in and resolve the case seamlessly.